I love doing upgrades to my car, I particularly like installing options that were available from the factory that my could have been fitted with if the original purchaser wasn't so tiht fisted with is check book.
So another OEM based upgrade, this time it was the retrofit of the option S609A (Professional Satellite Navigation). The car had the basic iDrive system from the factory called M-ASK with the 6.5' screen & Bluetooth with basic voice control (phone only).
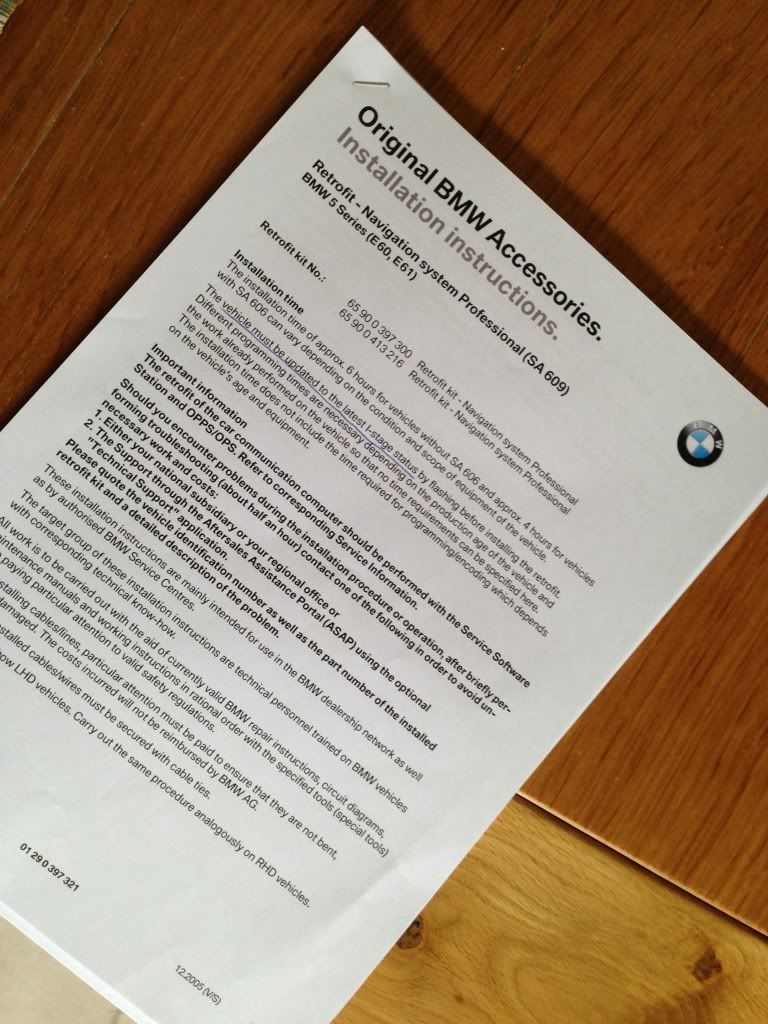
The is an EBA retrofit Guide floating about (I have EBA system myself too). Here's a link to a copy of the S609A retrofit.
![Image]()
This installation is equally applicable to the e60 Series as it is to the 6 Series. Here is a list of the hardware used in this particular installation:
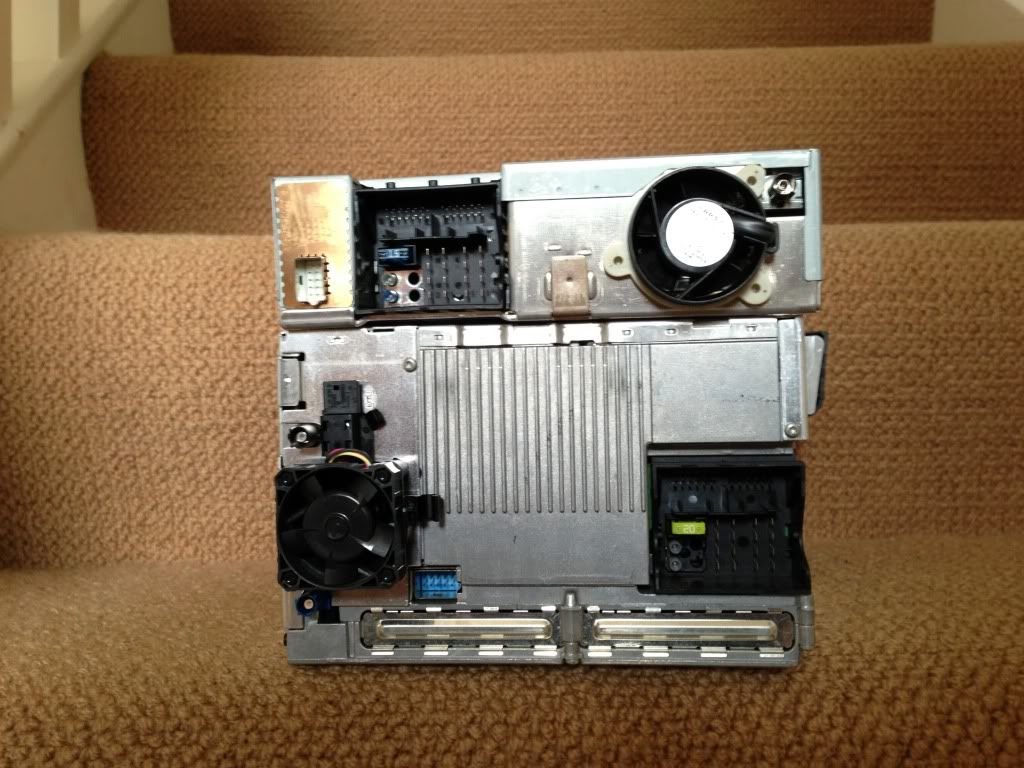
1. CCC unit
The CCC unit is the "brains" of the system with the CD & DVD drives built in
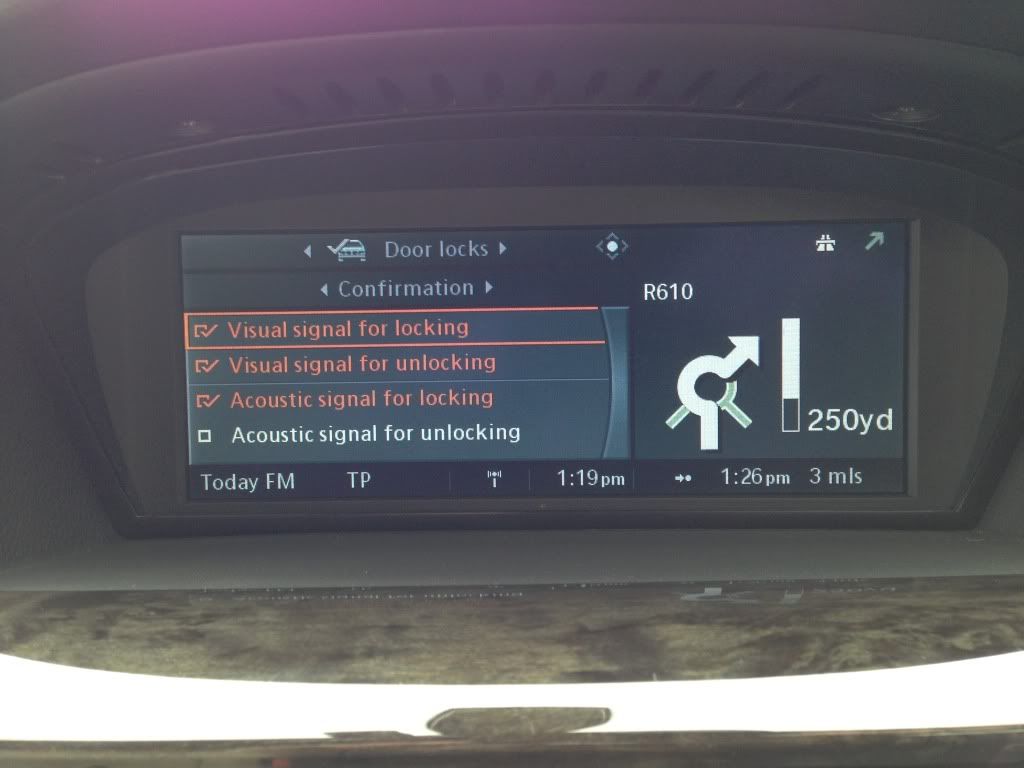
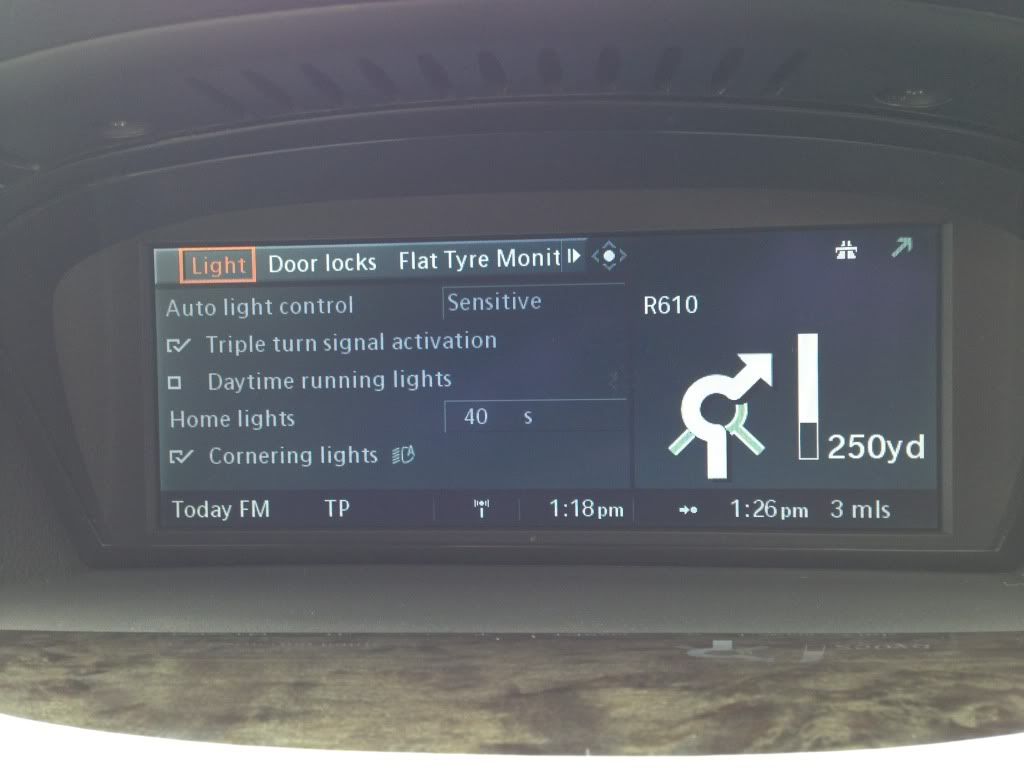
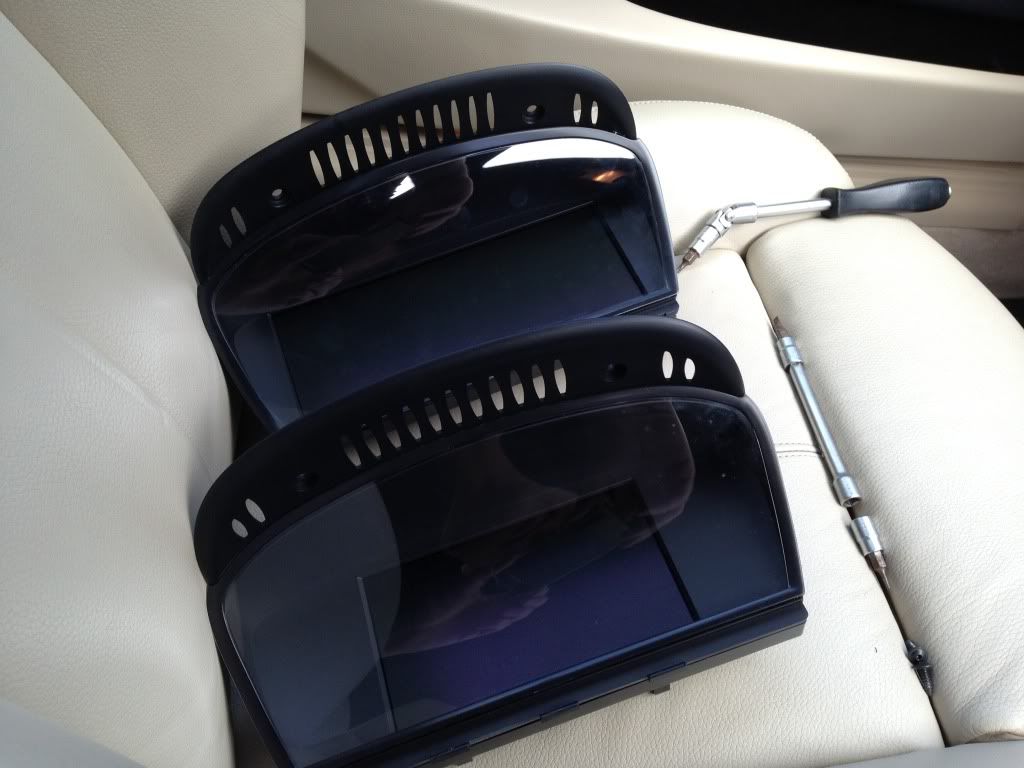
2. 8.8 Screen (CID)
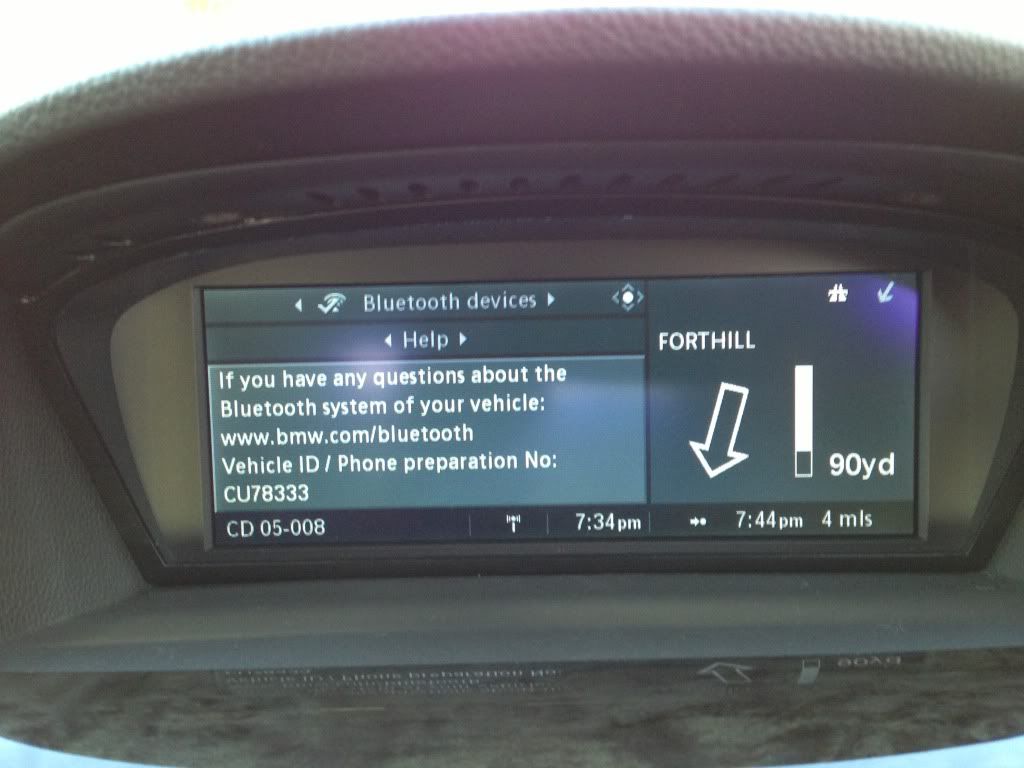
This screen is the widescreen; just to note you cannot use this screen with the M-ASK, I tried just out of curiosity, see below.
Old & new screen:
![Image]()
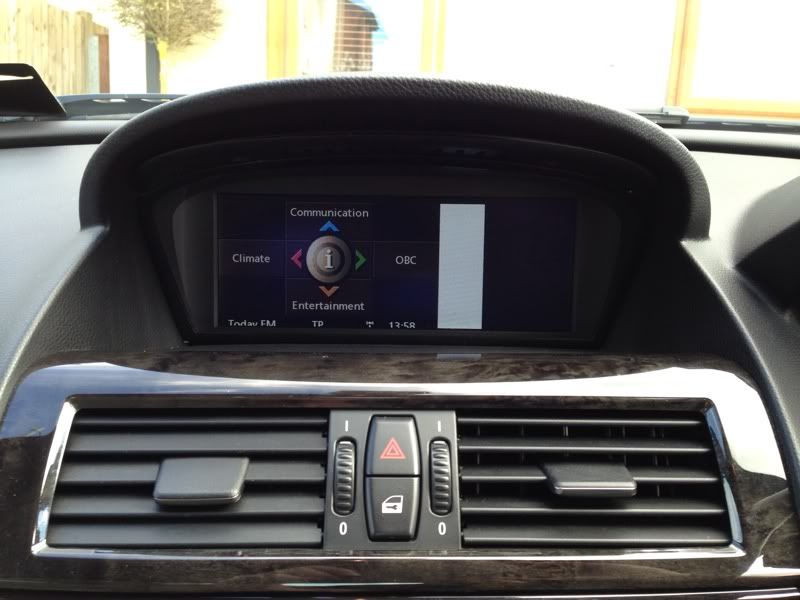
New Screen with MASK:
![Image]()
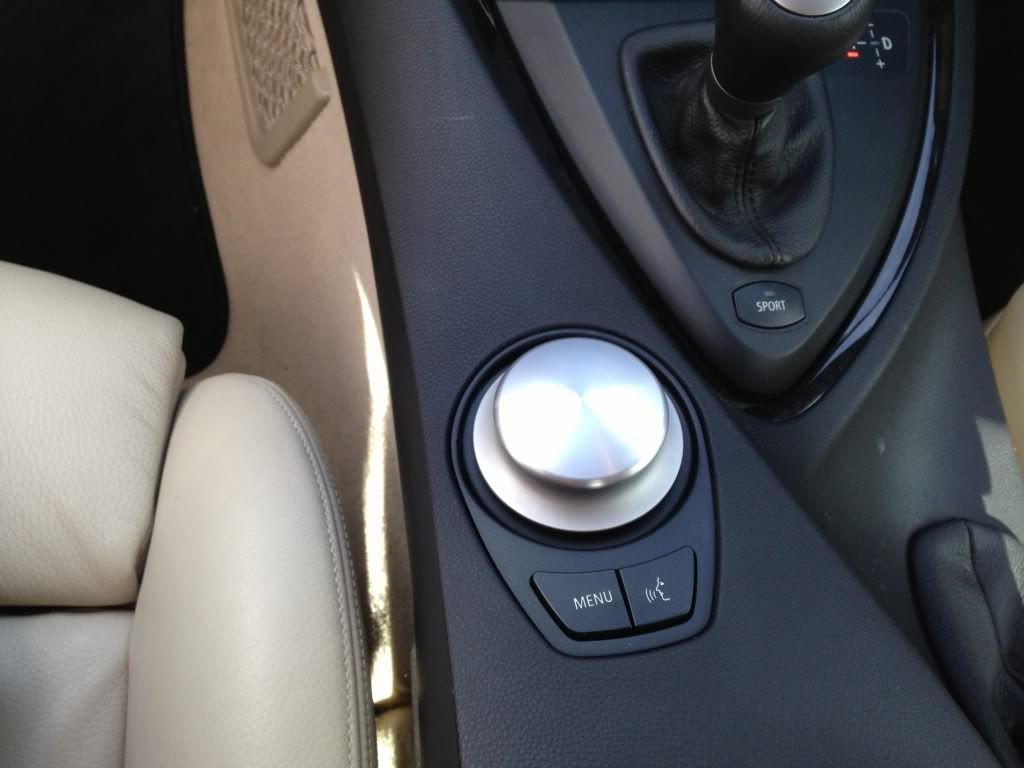
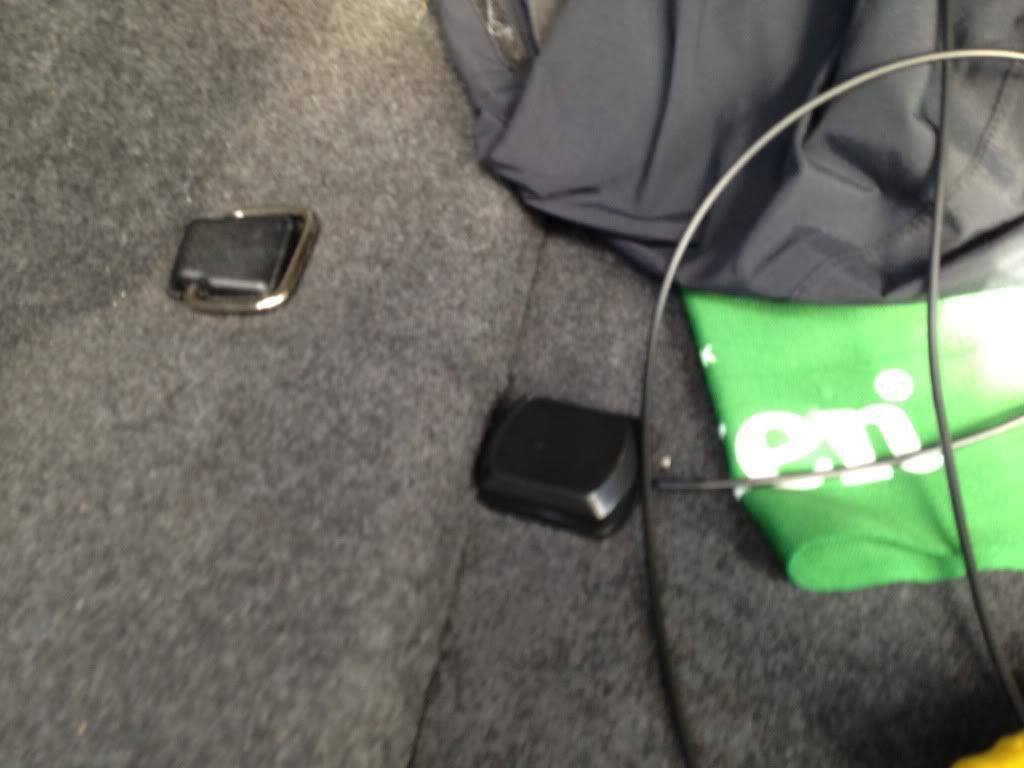
3. High iDrive Controller (with "haptic" feedback)
You can get away with the existing "low controller" but you will lose the haptic feedback functionality & you'll also have to have non-standard coding in the CCC to allow use of the "low" controller. I decided not to make this sacrifice.
![Image]()
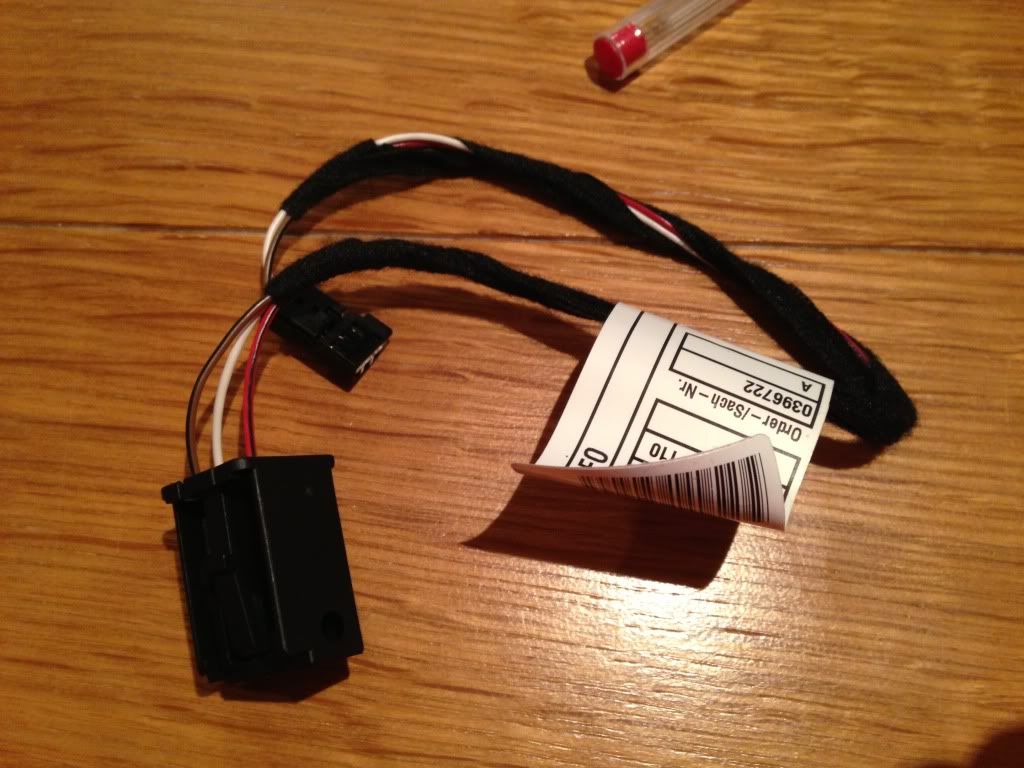
4. Fan Cable Harness
The "fan cable harness" is a small lead that connects the main harness going in to the back of the CCC to the fan on the back of the CCC. I'm not sure why they couldn't have the wiring for the fan inside the CCC but who am I to question it!
![Image]()
5.Fakra GPS antenna
![Image]()
![Image]()
The OEM antenna is about €130 excluding the cabling which is insane! I picked up a Fakra made (OEM supplier) GPS antenna with a 3m cable & the right connector for €8 delivered, no brainer really.
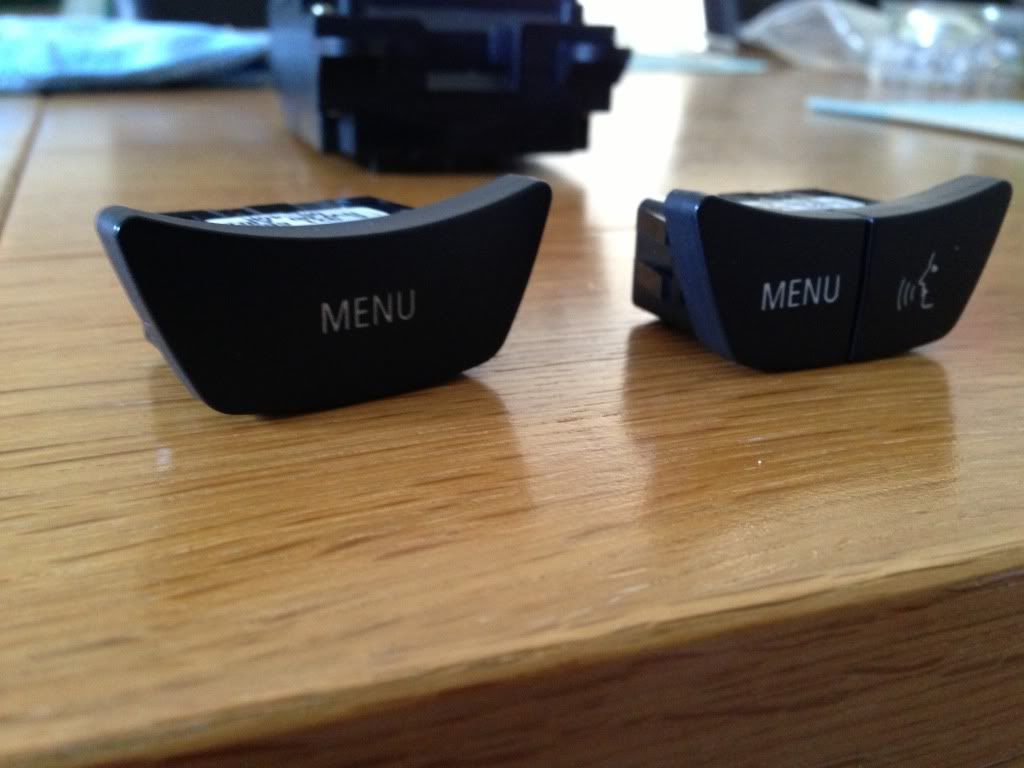
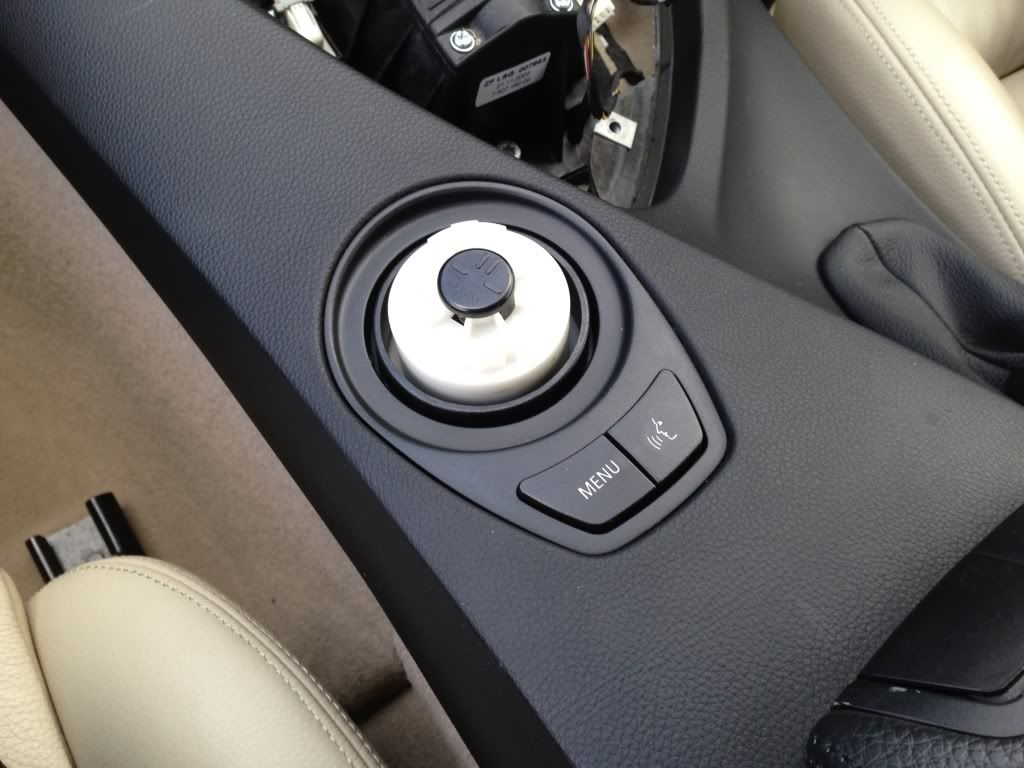
6. Menu/Voice Control iDrive button
As for the Menu/Voice Control button, you do not need to swap this out but I wanted to keep the system as OEM as I could, it helped that I got the button free with the iDrive controller.
![Image]()
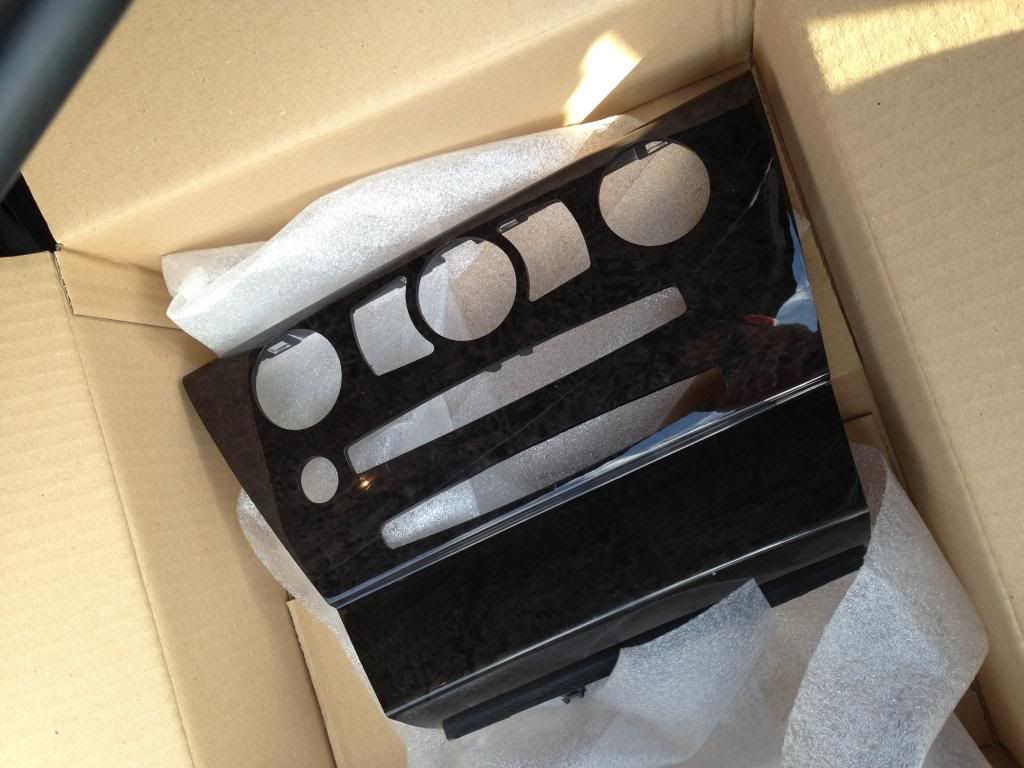
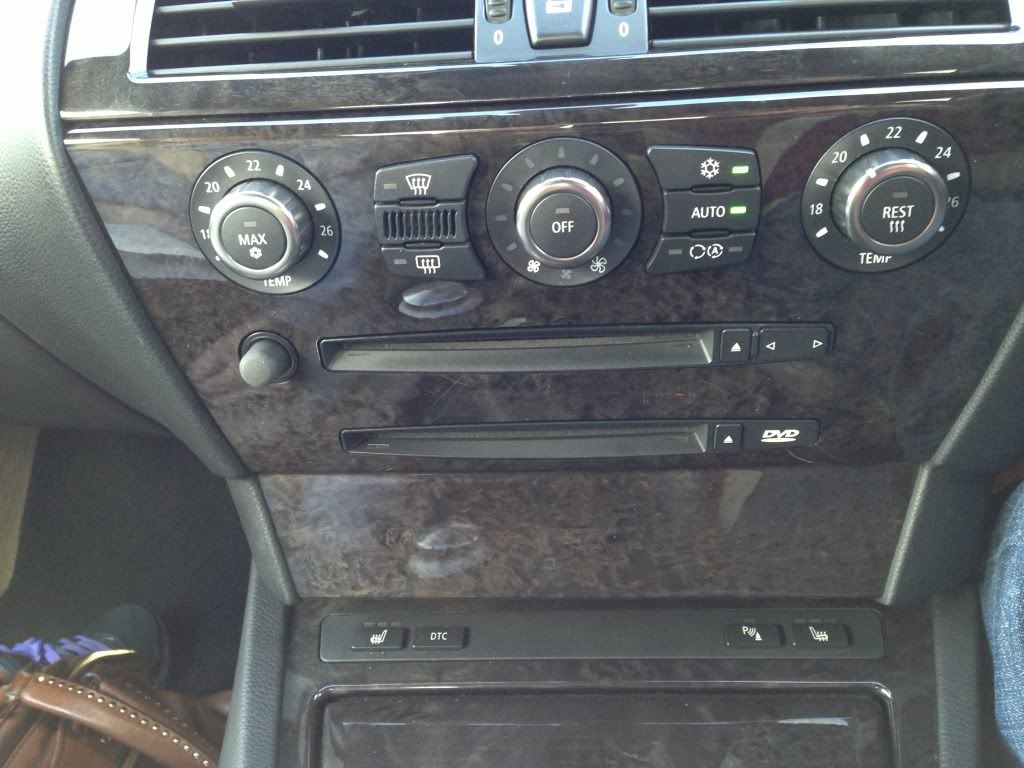
7. Replacement dash centre trim
This is the only piece that I ended up having to buy new. The original trim only has a slot for the CD drive, not for the DVD drive. It also has a little shelf built in which has to make way for the base of the CCC. There are many different colours available for this trim, Dark Birch, Light Birch, Madera, Brush Aluminium, Piano Black, Carbon to name a few. This just made it difficult to find the right one, the was one in UK but they wanted more for the second hand unit than it cost new! Another one was available in Sweden but that was close to the new price too. Having thought about it further this piece of trim has the most prominent place in the car so it was vital for me that this would be cosmetically perfect.
![Image]()
8. 2013 Premium Sat Nav map discs
Thanks to member jpwayne2004 for providing the DVDs with 2013 Western, Central & Eastern Europe maps.
The first job was to remove the centre console. It involves removing the gear knob (pull straight up), the gaitor (unplug 2 connectors), then remove the 4 x Torx srews to remove the wood effect trim. The centre console has 5 Torx bolts holding it in place one up front & four within the rear cup holder compartment.
![Image]()
![Image]()
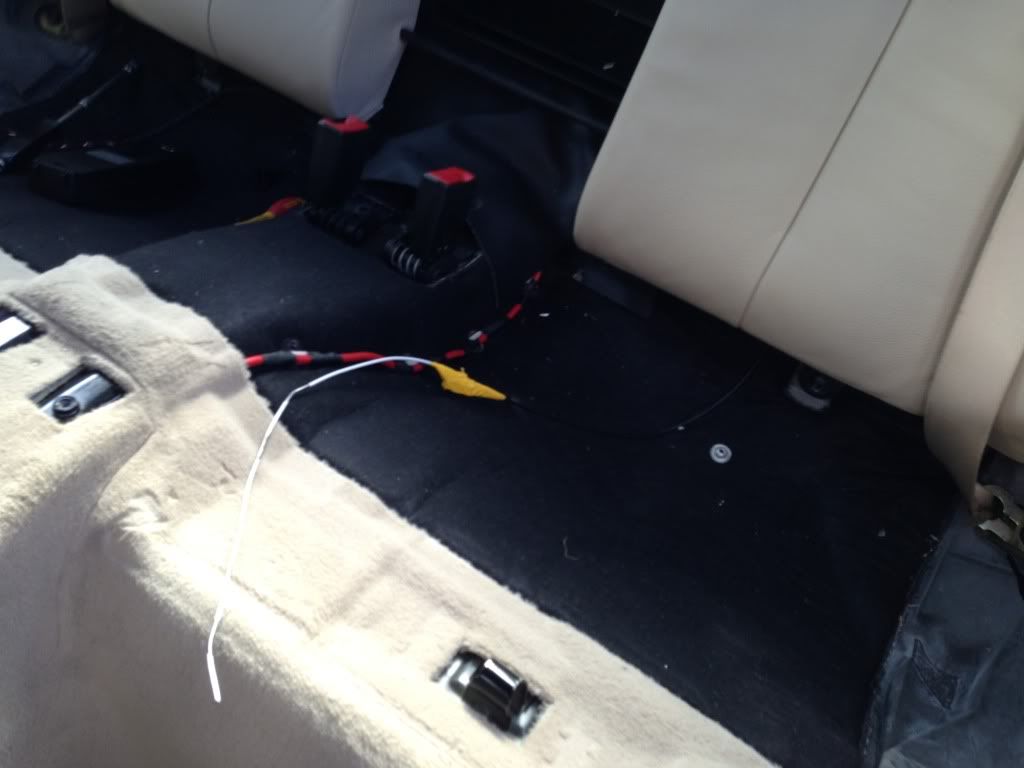
Then I removed the back seat, this was to facilitate the installation of the GPS antenna.
![Image]()
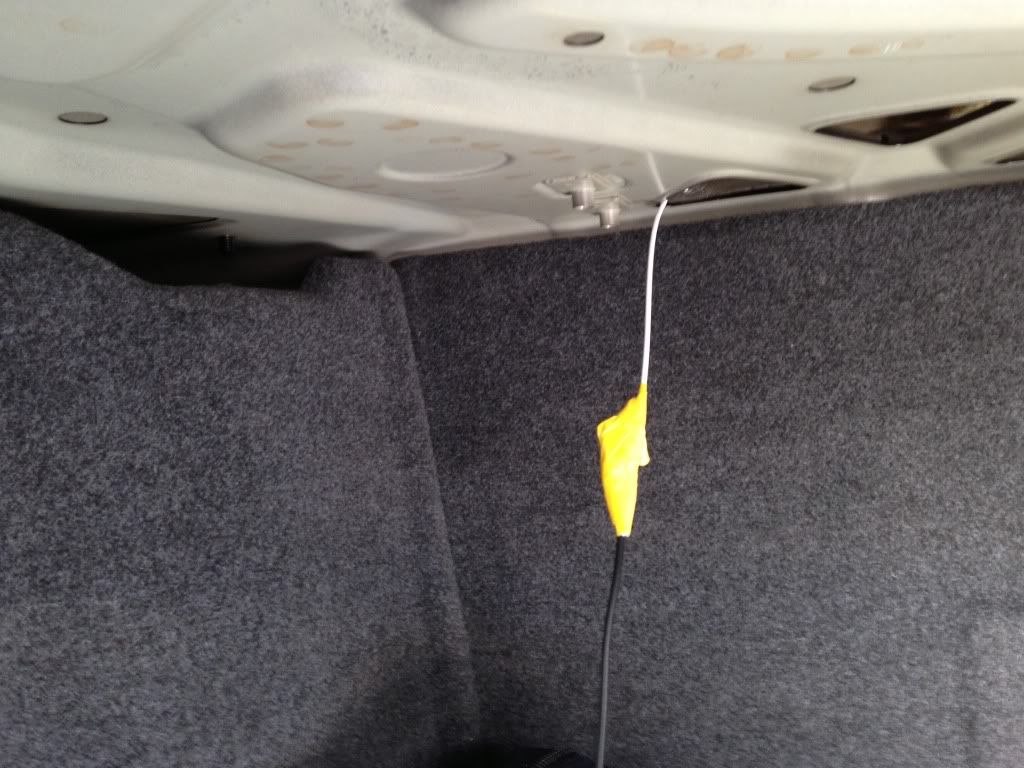
I mounted the GPS antenna in the OEM location for the e63 6 Series which is up underneath the rear parcel shelf. The steep rake of the rear windscreen allows this location to work, on the e60 5 Series the "Shark Fin" antenna was deemed necessary.
Interesting aside: The GPS satellites are not always directly above you as you drive, they can be out in front; to the side; or behind you. Remember the curvature of the earth? Also in order to determine your location the GPS system has to "see" at least 3 GPS satellites in order to report your position.
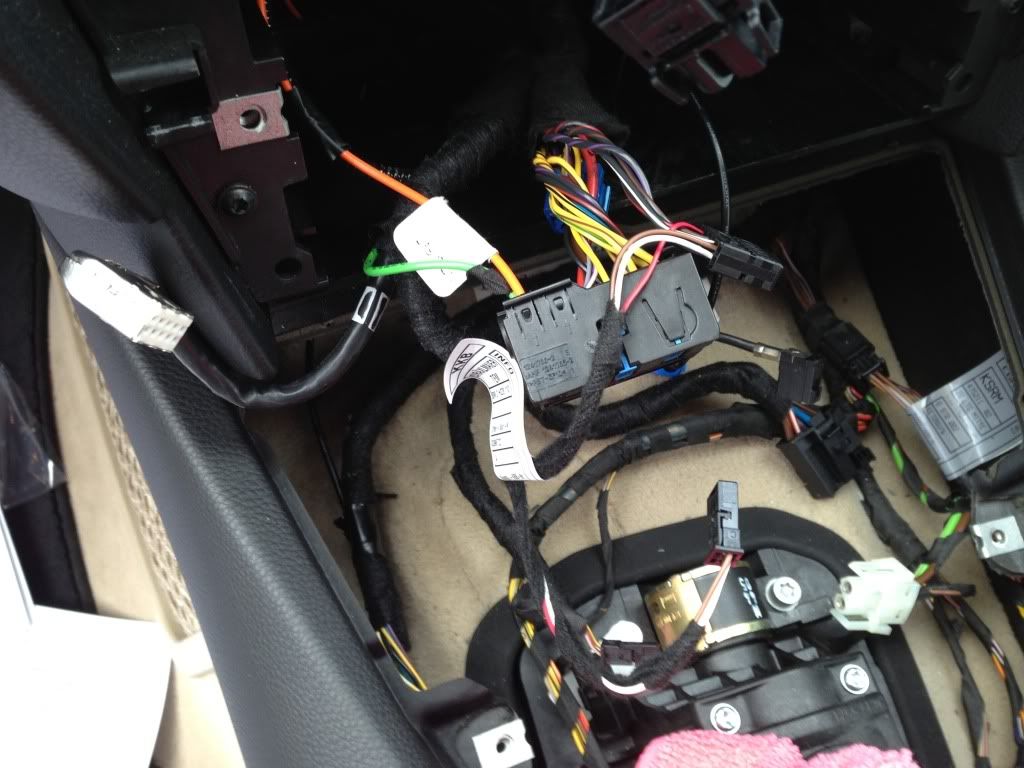
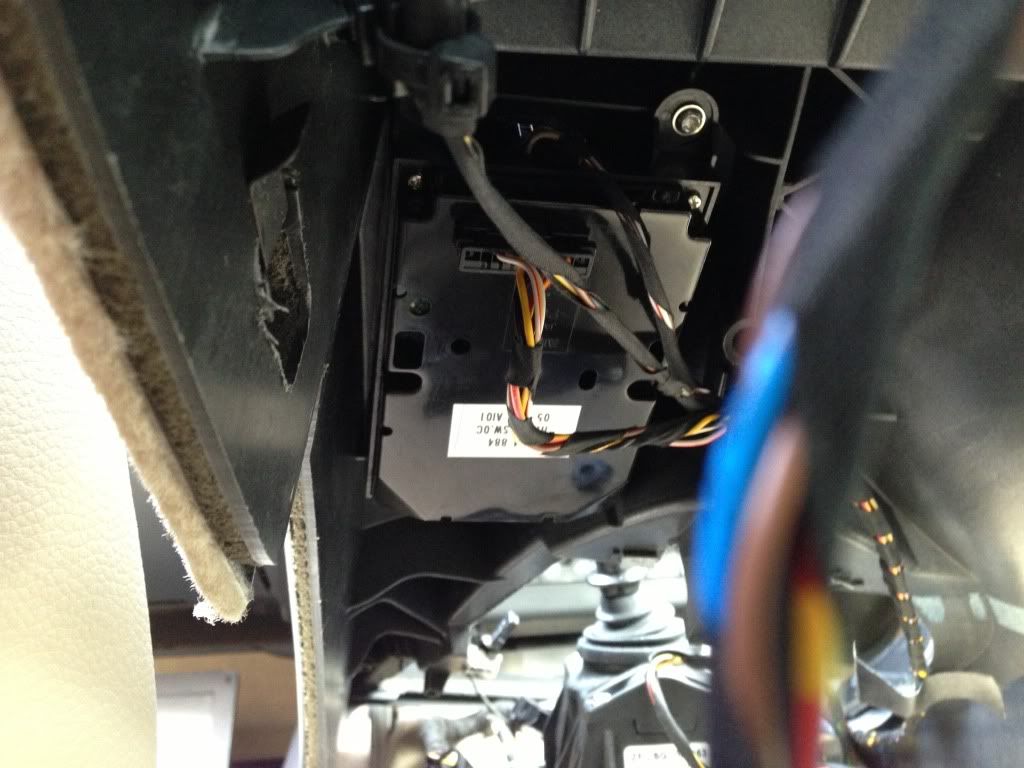
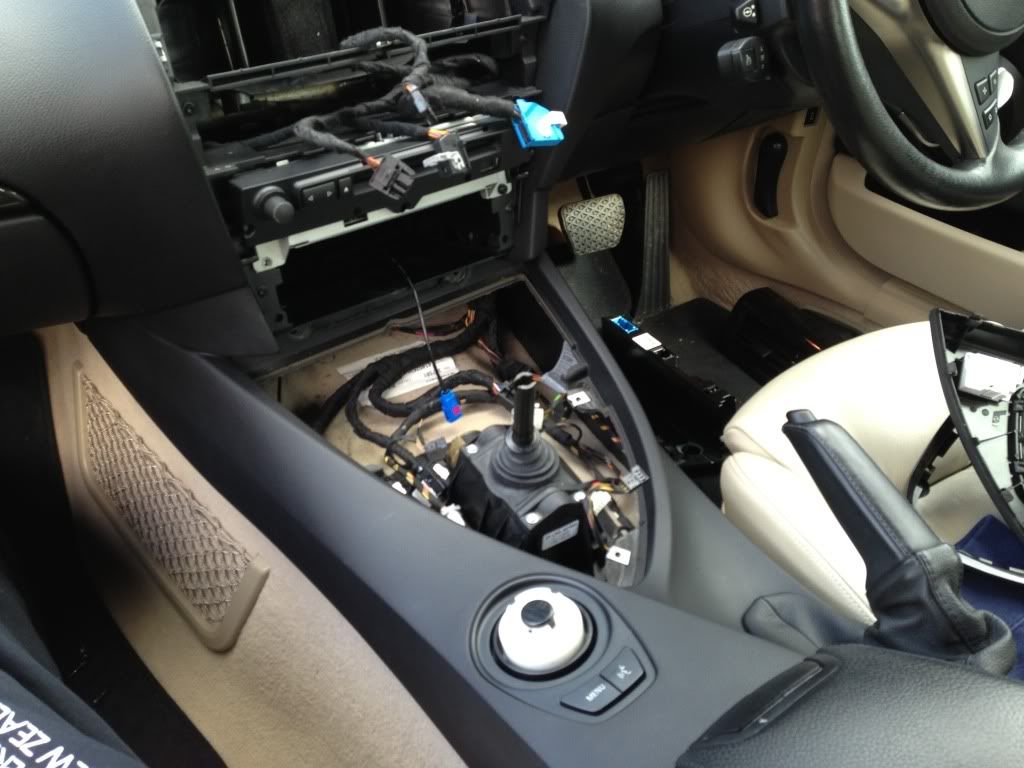
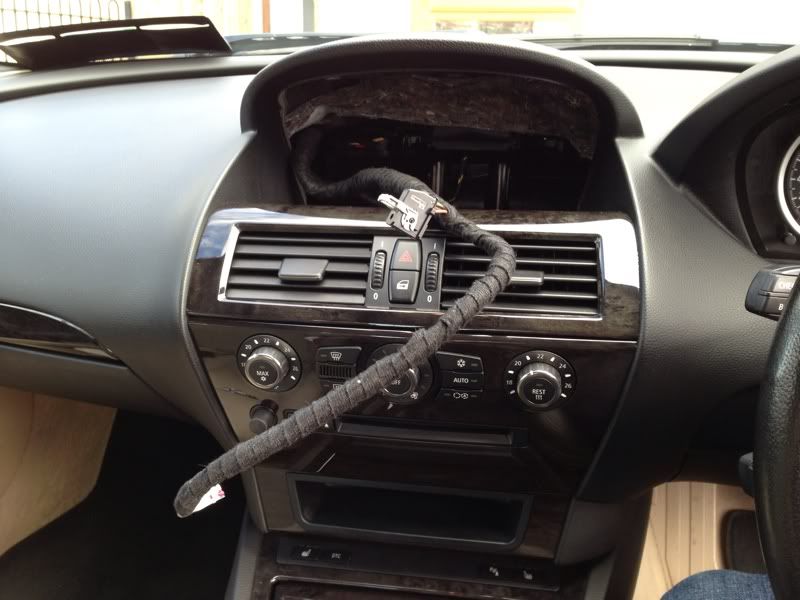
With the antenna mounted & the cable fed through to the dash centre I turned to the removal of the old iDrive controller, it is held in place with 4 Torx bolts. There are two Cables plugged in to the Controller/Menu switch.
![Image]()
![Image]()
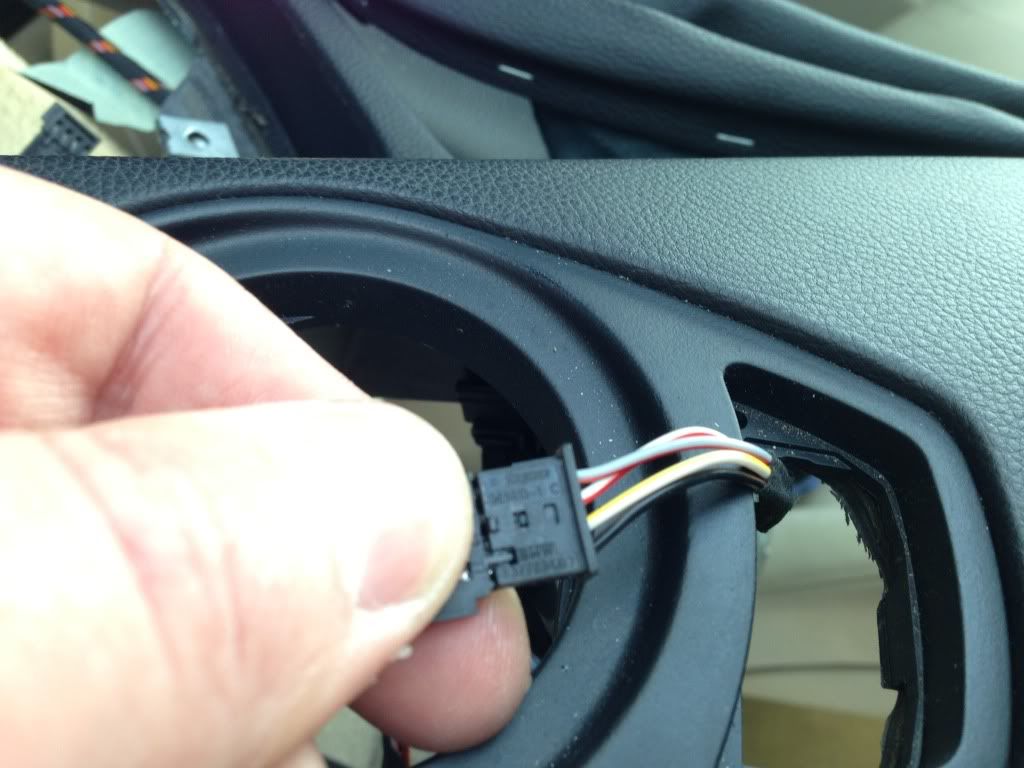
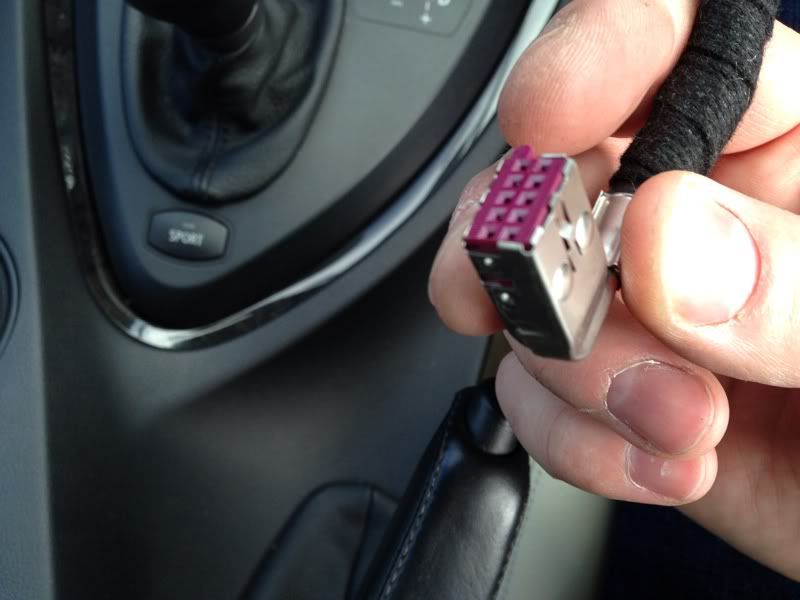
In the retrofit guide it called for the insertion of an additional wire for the voice control button, my car already had this.
Yellow/White wire is for voice control:
![Image]()
![Image]()
![Image]()
![Image]()
![Image]()
These were the two hardest jobs. It was plain sailing after this.
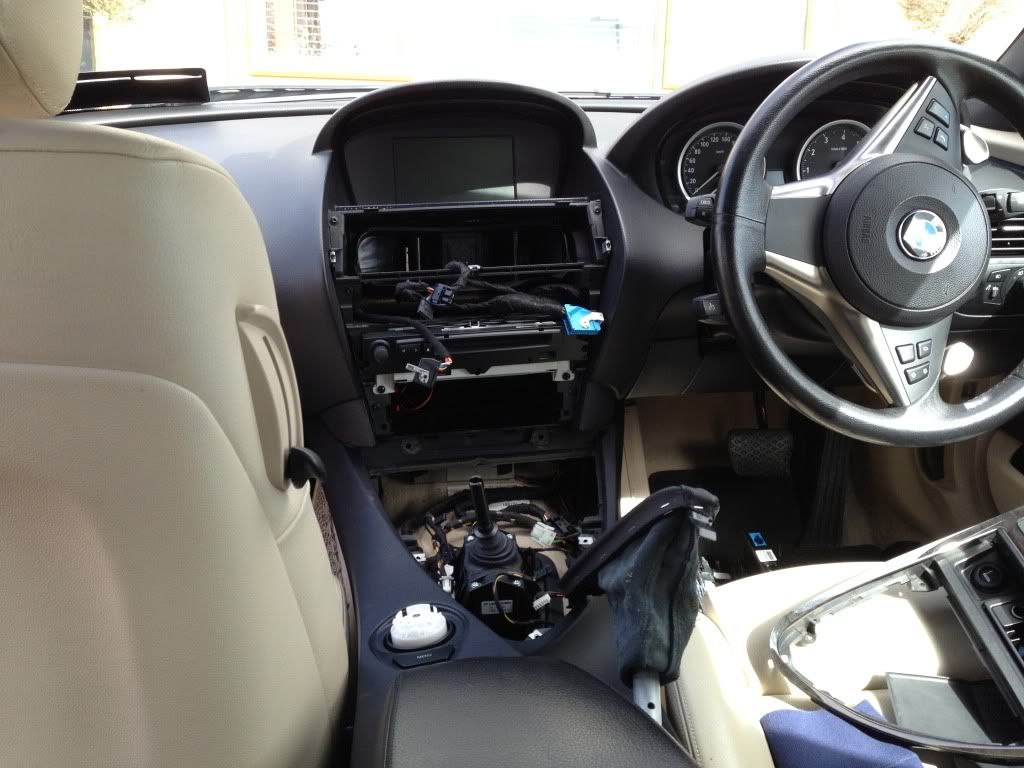
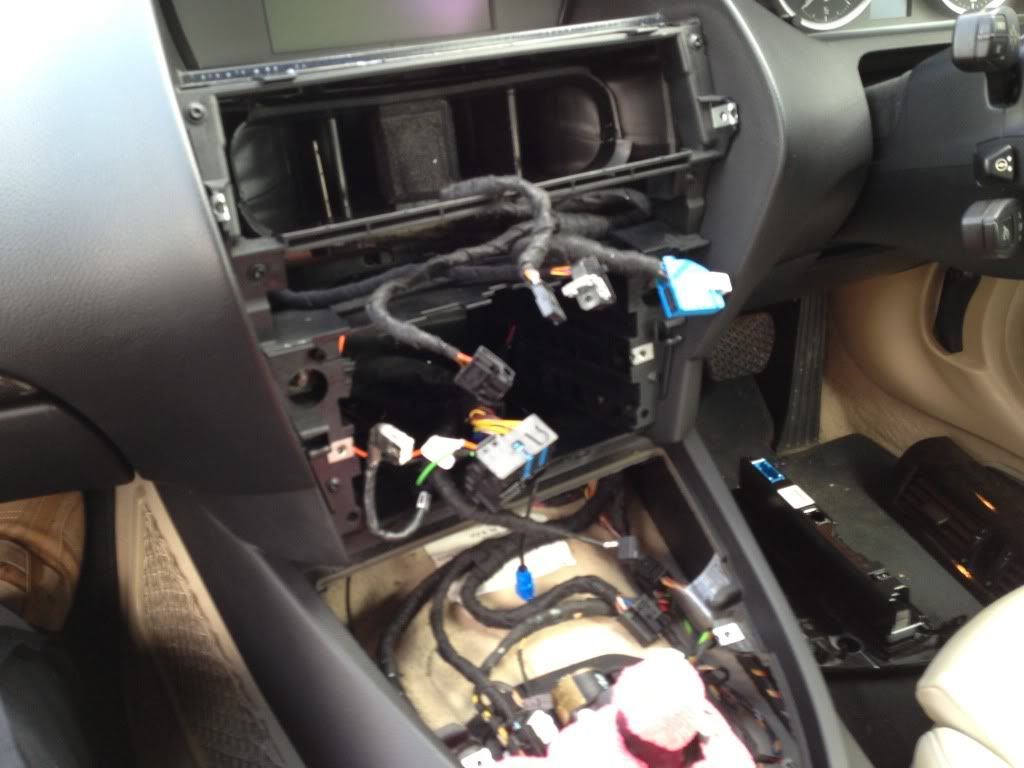
Next up was the installation of the 8.8 Widescreen Central Information Display (CID). I removed the central air vents & central dash trim to create space. The airducts have one Torx screw underneath the Hazard switch, the switch itself simply pops out with a plastic panel removal tool. The central dash trim is held in by 2 Philips screws at the top & 4 spring clips. The old connectors for the CID are identical for old/new screens & the screen is held in place with two Torx screws into the top of the dash. Simples.
![Image]()
![Image]()
Cables on CID:
![Image]()
![Image]()
The M-ASK unit is held in place with 2 Philips screws & it slides right out. The CCC is held in with 4 Philips screws, so you'll need to get the right screws & fasteners for the additional mounts.
![Image]()
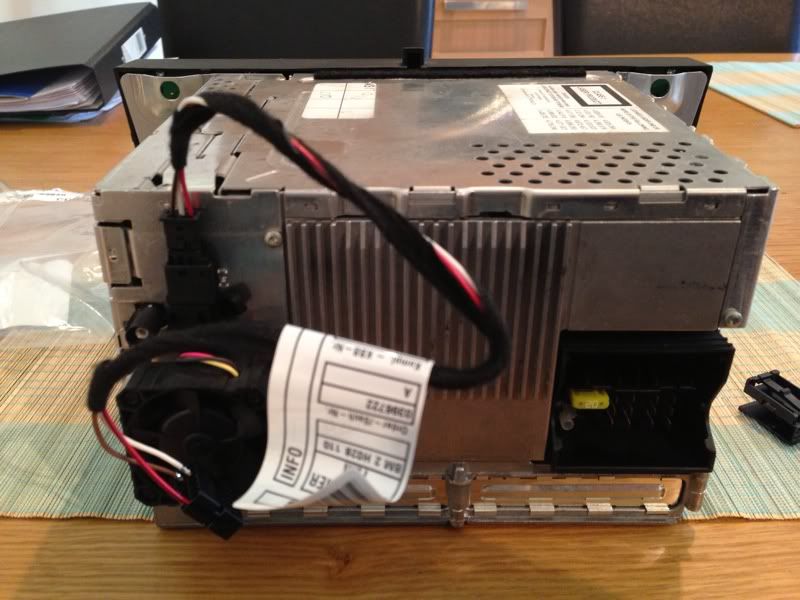
The speaker/power/optical connector is identical, with the exception to the fan cable harness. You need to insert the three wires from the fan in to one of the connectors, see the retrofit guide for which wire goes where.
![Image]()
The radio antenna connector is black & the GPS antenna connector is blue
MASK sitting on top of the CCC for comparison:
![Image]()
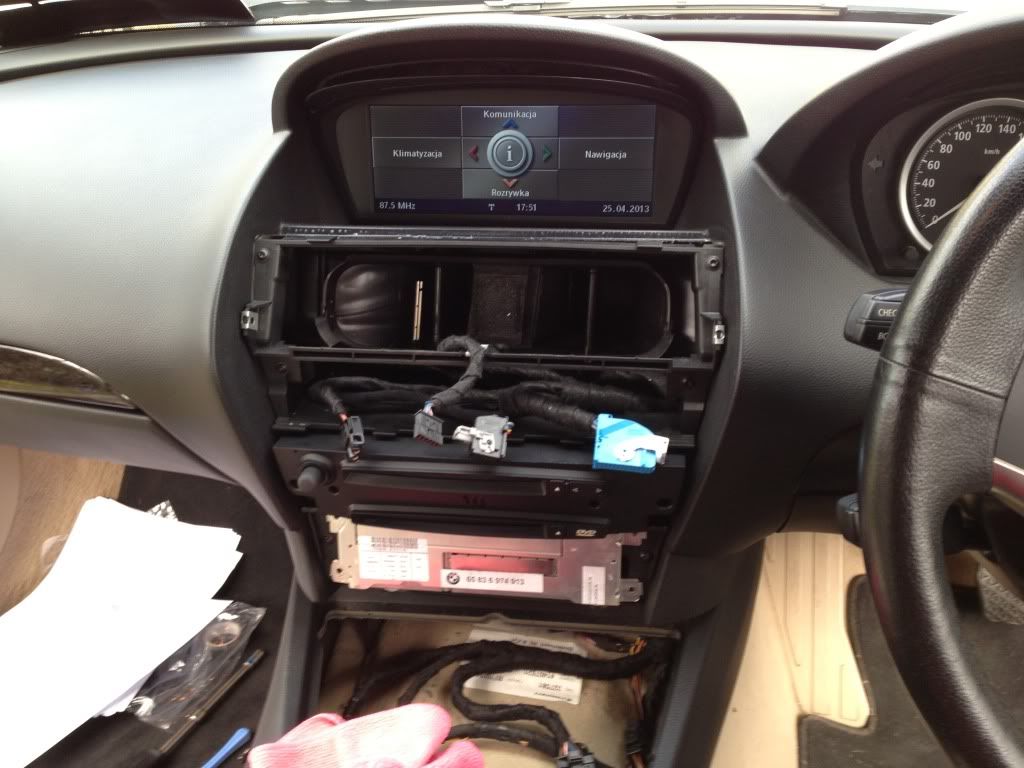
The connector on the cable that goes to the CID needs to be modified, there is a locator tab on the connector meaning it can only be plugged in one way (Poka Yoke) however it is incorrect for CCC so this tab needs to be trimmed off.
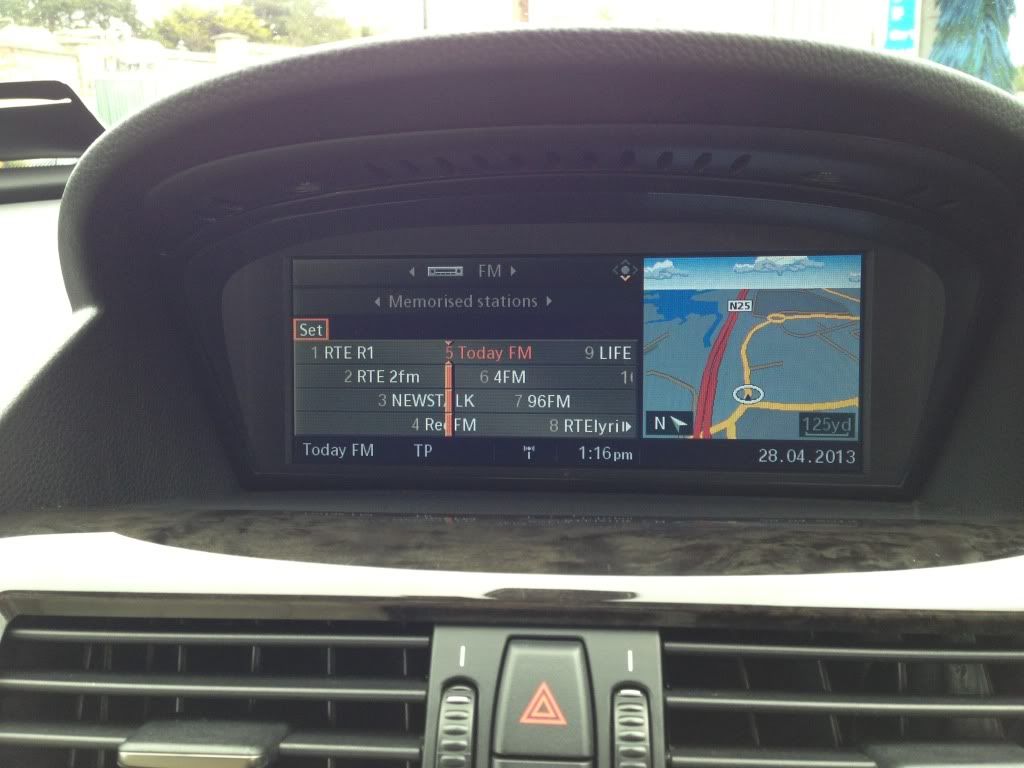
With all that connected up & fitted it simply comes time to reassemble everything
![Image]()
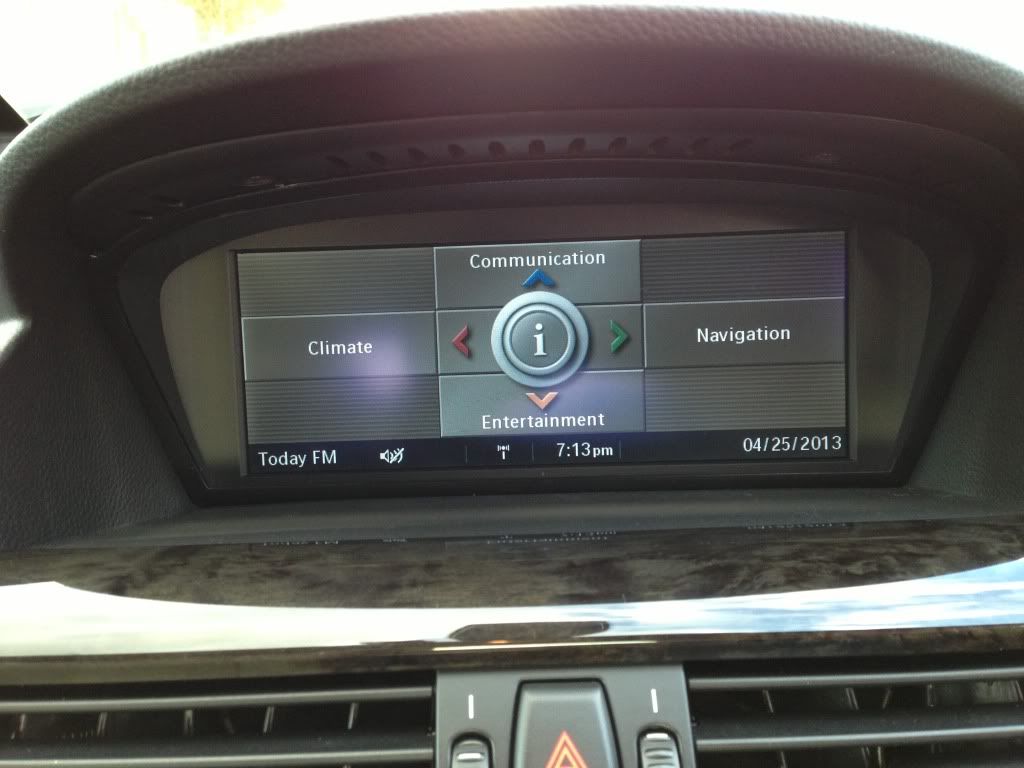
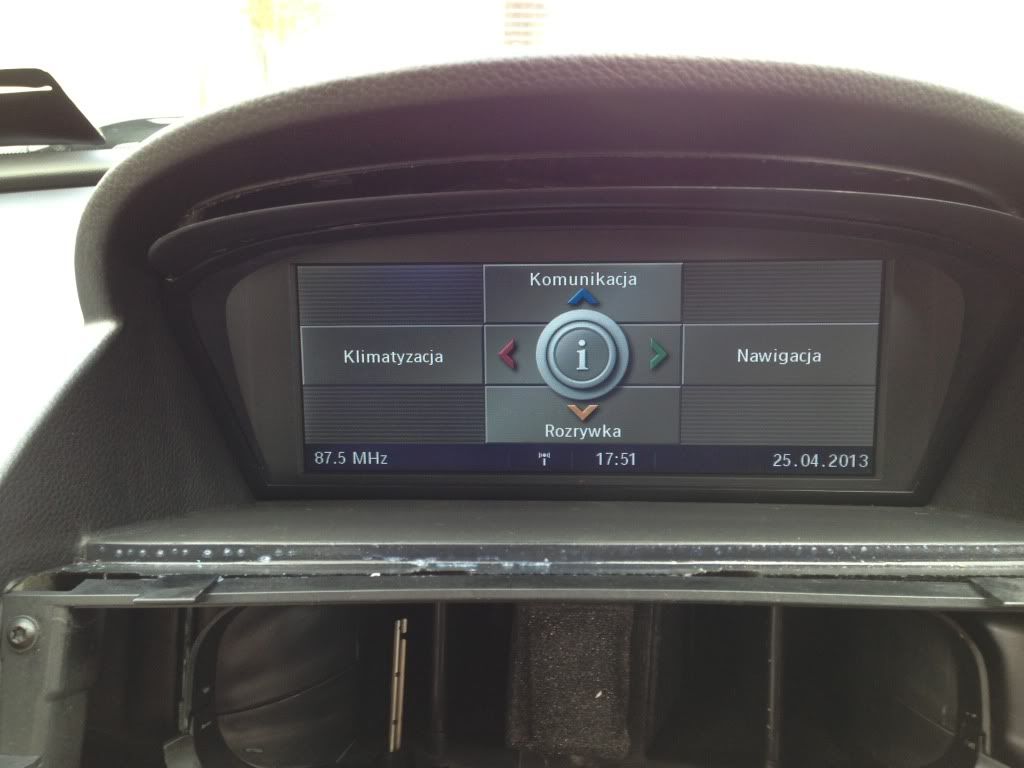
With everything installed it was time to fire it up! It initially loaded in Polish (I think).
![Image]()
![Image]()
![Image]()
So I set about coding the unit to match my car & also telling the car that it now had S609A (Professional Satellite Navigation). First up was to add $609& $620 to the Vehicle Order (VO), this is done with NCS Expert in "Expertmode". By doing this you are essentially changing the DNA of the car.
The next job to be done was to code the CCC to match my car. This involves coding 5 units with the default build of the car (again using NCS Expert):
- CAPPL
- CAUDA
- CGATE
- CHOST
- CTUNE
So another OEM based upgrade, this time it was the retrofit of the option S609A (Professional Satellite Navigation). The car had the basic iDrive system from the factory called M-ASK with the 6.5' screen & Bluetooth with basic voice control (phone only).
The is an EBA retrofit Guide floating about (I have EBA system myself too). Here's a link to a copy of the S609A retrofit.
This installation is equally applicable to the e60 Series as it is to the 6 Series. Here is a list of the hardware used in this particular installation:
1. CCC unit
The CCC unit is the "brains" of the system with the CD & DVD drives built in
2. 8.8 Screen (CID)
This screen is the widescreen; just to note you cannot use this screen with the M-ASK, I tried just out of curiosity, see below.
Old & new screen:
New Screen with MASK:
3. High iDrive Controller (with "haptic" feedback)
You can get away with the existing "low controller" but you will lose the haptic feedback functionality & you'll also have to have non-standard coding in the CCC to allow use of the "low" controller. I decided not to make this sacrifice.

4. Fan Cable Harness
The "fan cable harness" is a small lead that connects the main harness going in to the back of the CCC to the fan on the back of the CCC. I'm not sure why they couldn't have the wiring for the fan inside the CCC but who am I to question it!
5.Fakra GPS antenna
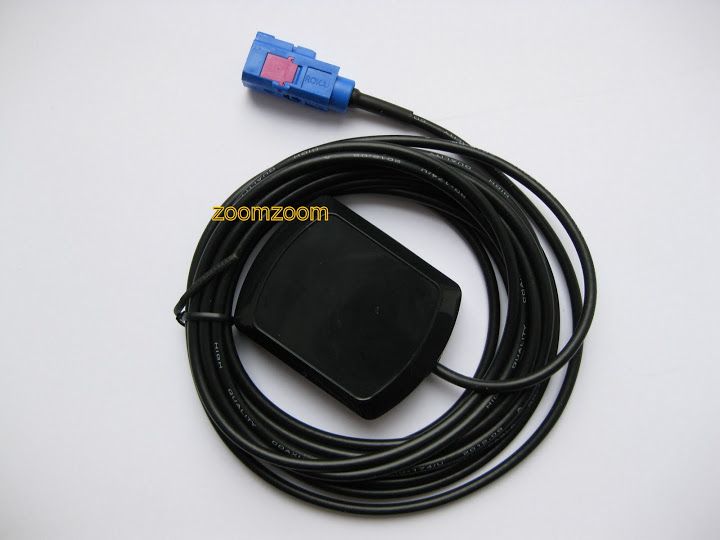
The OEM antenna is about €130 excluding the cabling which is insane! I picked up a Fakra made (OEM supplier) GPS antenna with a 3m cable & the right connector for €8 delivered, no brainer really.
6. Menu/Voice Control iDrive button
As for the Menu/Voice Control button, you do not need to swap this out but I wanted to keep the system as OEM as I could, it helped that I got the button free with the iDrive controller.
7. Replacement dash centre trim
This is the only piece that I ended up having to buy new. The original trim only has a slot for the CD drive, not for the DVD drive. It also has a little shelf built in which has to make way for the base of the CCC. There are many different colours available for this trim, Dark Birch, Light Birch, Madera, Brush Aluminium, Piano Black, Carbon to name a few. This just made it difficult to find the right one, the was one in UK but they wanted more for the second hand unit than it cost new! Another one was available in Sweden but that was close to the new price too. Having thought about it further this piece of trim has the most prominent place in the car so it was vital for me that this would be cosmetically perfect.
8. 2013 Premium Sat Nav map discs
Thanks to member jpwayne2004 for providing the DVDs with 2013 Western, Central & Eastern Europe maps.
The first job was to remove the centre console. It involves removing the gear knob (pull straight up), the gaitor (unplug 2 connectors), then remove the 4 x Torx srews to remove the wood effect trim. The centre console has 5 Torx bolts holding it in place one up front & four within the rear cup holder compartment.

Then I removed the back seat, this was to facilitate the installation of the GPS antenna.
I mounted the GPS antenna in the OEM location for the e63 6 Series which is up underneath the rear parcel shelf. The steep rake of the rear windscreen allows this location to work, on the e60 5 Series the "Shark Fin" antenna was deemed necessary.
Interesting aside: The GPS satellites are not always directly above you as you drive, they can be out in front; to the side; or behind you. Remember the curvature of the earth? Also in order to determine your location the GPS system has to "see" at least 3 GPS satellites in order to report your position.
With the antenna mounted & the cable fed through to the dash centre I turned to the removal of the old iDrive controller, it is held in place with 4 Torx bolts. There are two Cables plugged in to the Controller/Menu switch.
In the retrofit guide it called for the insertion of an additional wire for the voice control button, my car already had this.
Yellow/White wire is for voice control:

These were the two hardest jobs. It was plain sailing after this.
Next up was the installation of the 8.8 Widescreen Central Information Display (CID). I removed the central air vents & central dash trim to create space. The airducts have one Torx screw underneath the Hazard switch, the switch itself simply pops out with a plastic panel removal tool. The central dash trim is held in by 2 Philips screws at the top & 4 spring clips. The old connectors for the CID are identical for old/new screens & the screen is held in place with two Torx screws into the top of the dash. Simples.
Cables on CID:
The M-ASK unit is held in place with 2 Philips screws & it slides right out. The CCC is held in with 4 Philips screws, so you'll need to get the right screws & fasteners for the additional mounts.
The speaker/power/optical connector is identical, with the exception to the fan cable harness. You need to insert the three wires from the fan in to one of the connectors, see the retrofit guide for which wire goes where.
The radio antenna connector is black & the GPS antenna connector is blue
MASK sitting on top of the CCC for comparison:
The connector on the cable that goes to the CID needs to be modified, there is a locator tab on the connector meaning it can only be plugged in one way (Poka Yoke) however it is incorrect for CCC so this tab needs to be trimmed off.
With all that connected up & fitted it simply comes time to reassemble everything
With everything installed it was time to fire it up! It initially loaded in Polish (I think).
So I set about coding the unit to match my car & also telling the car that it now had S609A (Professional Satellite Navigation). First up was to add $609& $620 to the Vehicle Order (VO), this is done with NCS Expert in "Expertmode". By doing this you are essentially changing the DNA of the car.
The next job to be done was to code the CCC to match my car. This involves coding 5 units with the default build of the car (again using NCS Expert):
- CAPPL
- CAUDA
- CGATE
- CHOST
- CTUNE