We needed a tow hitch for our new 2015 X3 xDrive28i BMW.
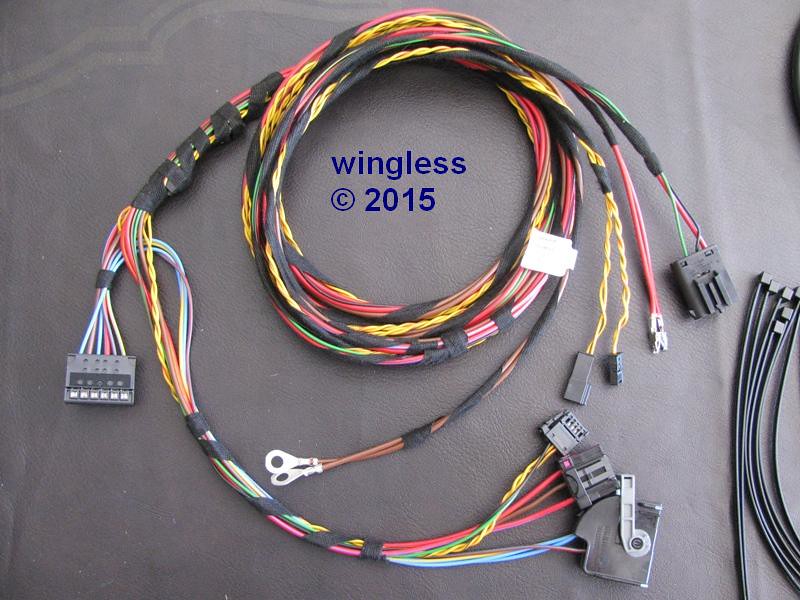
After an exhaustive search I selected the Invisihitch by Execuhitch, with the ball carrier, the bike rack receiver and the BMW trailer module. The vehicle will be reprogrammed by CodeMyCar to utilize the new module and to personalize the configuration.
The hitch is well-made and is provided as a system. I recommend this hitch.
Be aware that the factory aluminum bumper support is discarded during the installation. That bumper support has the threaded inserts for the tow eyes. There are no tow eyes with the hitch. That should not be a problem, because the hitch includes two sturdy safety chain loops that are suitable for that function instead.
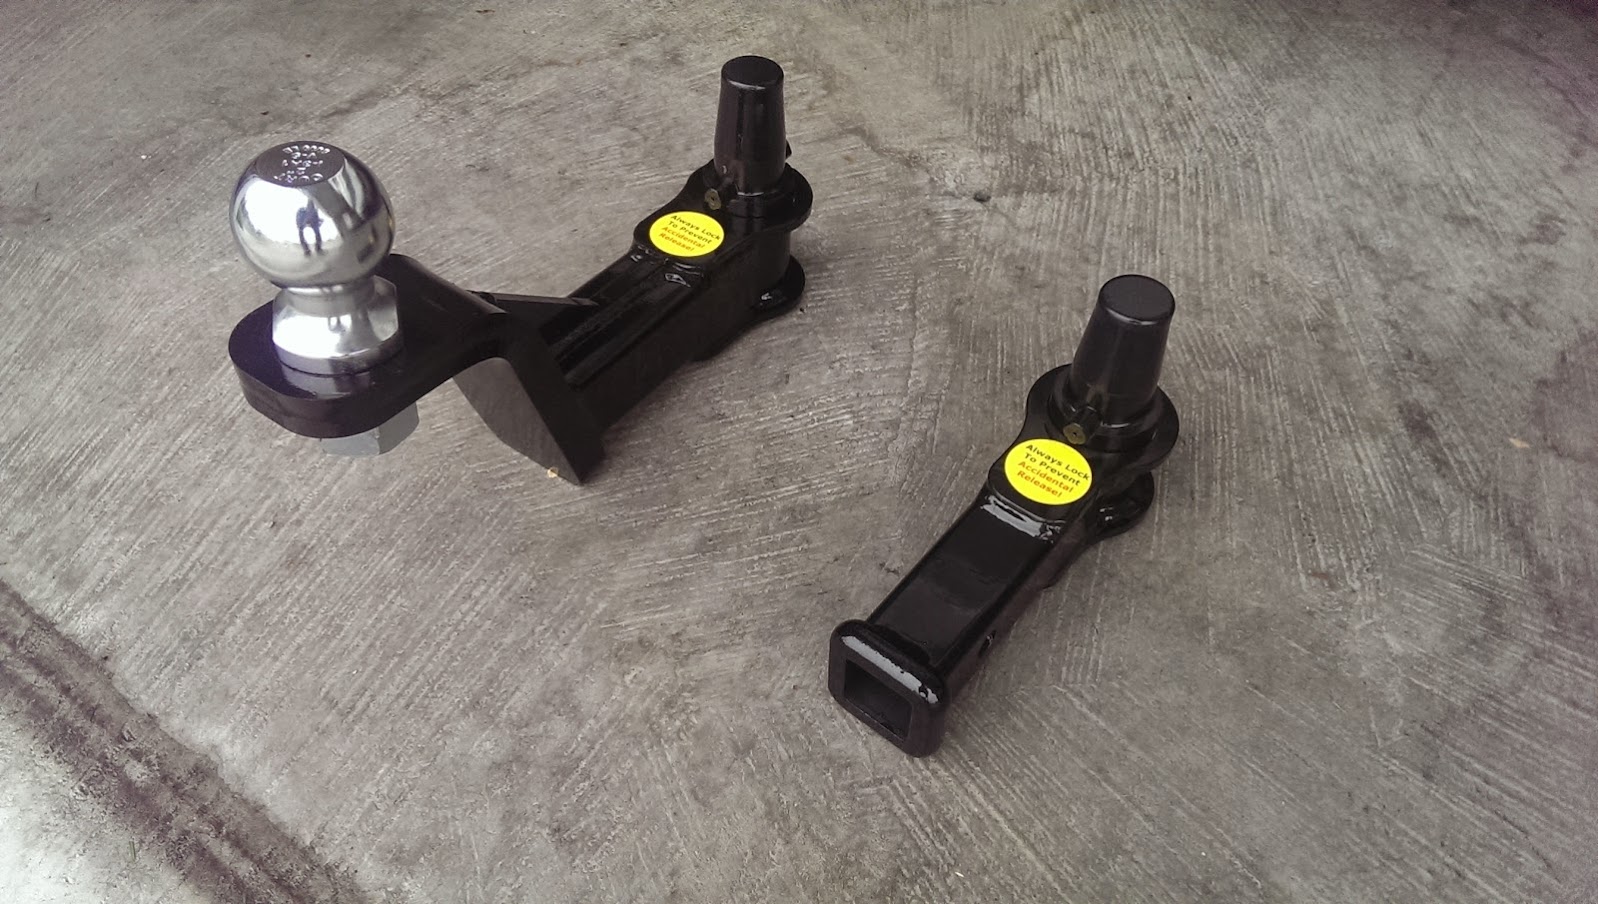
When the ball carrier is removed, the hitch is completely hidden. It is only visible when looking up from the ground at the bottom of the vehicle. The ball carrier is easy to remove. It also has a built-in key lock for extra security.
The hitch is easy enough for a DIY installation. The instructions and materials are complete.
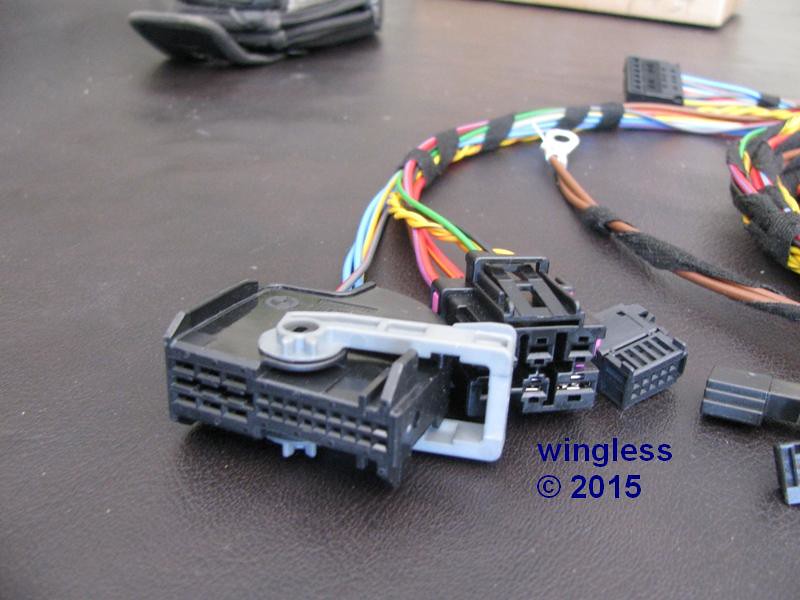
The vehicle electrics tolerated the toe kick sensor, the parking sensors and the passive proximity antenna plugging and unplugging w/o getting weird.
Note that the directions and the cutting template supplied were not followed. I instead created my own cut pattern from measurements, to have two smaller holes, instead of one larger hole.
Hitch Parts
![Image]()
Reflector Removal
![Image]()
Reflector Removed - Note Screw to Remove
![Image]()
Taillight Cover Removal
![Image]()
Taillight Cover Removed - Note Nuts to Remove, then Taillight, then Unplug Taillight
![Image]()
Taillight Nut Removal
![Image]()
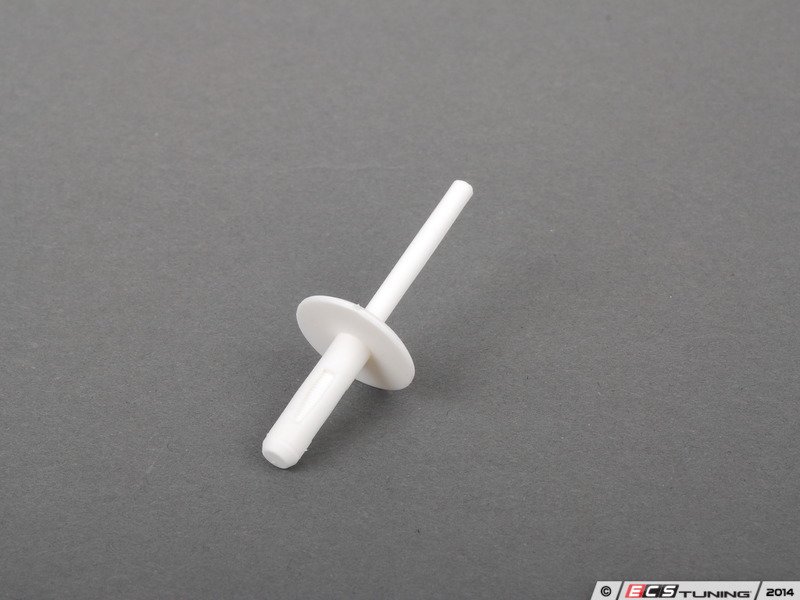
Fenderwell Plastic Rivet Removal - Remove Three Rear on Each Side
![Image]()
Fenderwell Plastic Rivet Removed
![Image]()
Fenderwell Trim Clip Released - Note Hidden Screws (4) to Remove
![Image]()
Fenderwell Trim Fastener + O-Ring - Note Trim Fastener and O-Ring Both Fall Off Easy - Don't Lose
![Image]()
Gravel Guard Screws
![Image]()
Gravel Guard Nuts
![Image]()
Gravel Guard Removed
![Image]()
Facia Bottom Screws - Remove Three Each Side
![Image]()
Facia Clip Releasing - Note the Prior Yellow Pry Tool was Too Flexible - Switched to Disposible Chop Sticks
![Image]()
Facia Corner Clip Releasing
![Image]()
Facia Removed - Facia Support Shown - Passive Proximity Antenna Shown
![Image]()
Facia Supports Removed
![Image]()
Aluminum Bumper Removed
![Image]()
Invisihitch Beam Installed
![Image]()
Torque Hitch Assembly to 90 ft-lbs
![Image]()
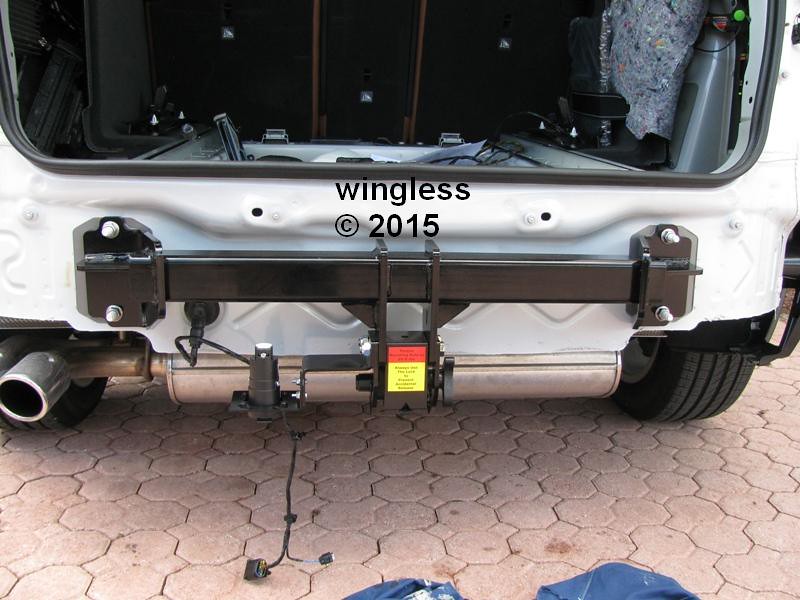
Hitch Installed
![Image]()
Facia Interior - Parking Sensors and Toe Kick Sensors
![Image]()
![Image]()
Gravel Guard Marked for Cutting
![Image]()
Gravel Guard Cut
![Image]()
Hitch Viewed Through Gravel Guard Cutout
![Image]()
After an exhaustive search I selected the Invisihitch by Execuhitch, with the ball carrier, the bike rack receiver and the BMW trailer module. The vehicle will be reprogrammed by CodeMyCar to utilize the new module and to personalize the configuration.
The hitch is well-made and is provided as a system. I recommend this hitch.
Be aware that the factory aluminum bumper support is discarded during the installation. That bumper support has the threaded inserts for the tow eyes. There are no tow eyes with the hitch. That should not be a problem, because the hitch includes two sturdy safety chain loops that are suitable for that function instead.
When the ball carrier is removed, the hitch is completely hidden. It is only visible when looking up from the ground at the bottom of the vehicle. The ball carrier is easy to remove. It also has a built-in key lock for extra security.
The hitch is easy enough for a DIY installation. The instructions and materials are complete.
The vehicle electrics tolerated the toe kick sensor, the parking sensors and the passive proximity antenna plugging and unplugging w/o getting weird.
Note that the directions and the cutting template supplied were not followed. I instead created my own cut pattern from measurements, to have two smaller holes, instead of one larger hole.
Hitch Parts

Reflector Removal

Reflector Removed - Note Screw to Remove

Taillight Cover Removal

Taillight Cover Removed - Note Nuts to Remove, then Taillight, then Unplug Taillight

Taillight Nut Removal

Fenderwell Plastic Rivet Removal - Remove Three Rear on Each Side

Fenderwell Plastic Rivet Removed

Fenderwell Trim Clip Released - Note Hidden Screws (4) to Remove

Fenderwell Trim Fastener + O-Ring - Note Trim Fastener and O-Ring Both Fall Off Easy - Don't Lose

Gravel Guard Screws

Gravel Guard Nuts

Gravel Guard Removed

Facia Bottom Screws - Remove Three Each Side

Facia Clip Releasing - Note the Prior Yellow Pry Tool was Too Flexible - Switched to Disposible Chop Sticks

Facia Corner Clip Releasing

Facia Removed - Facia Support Shown - Passive Proximity Antenna Shown

Facia Supports Removed

Aluminum Bumper Removed

Invisihitch Beam Installed

Torque Hitch Assembly to 90 ft-lbs

Hitch Installed
Facia Interior - Parking Sensors and Toe Kick Sensors


Gravel Guard Marked for Cutting

Gravel Guard Cut

Hitch Viewed Through Gravel Guard Cutout