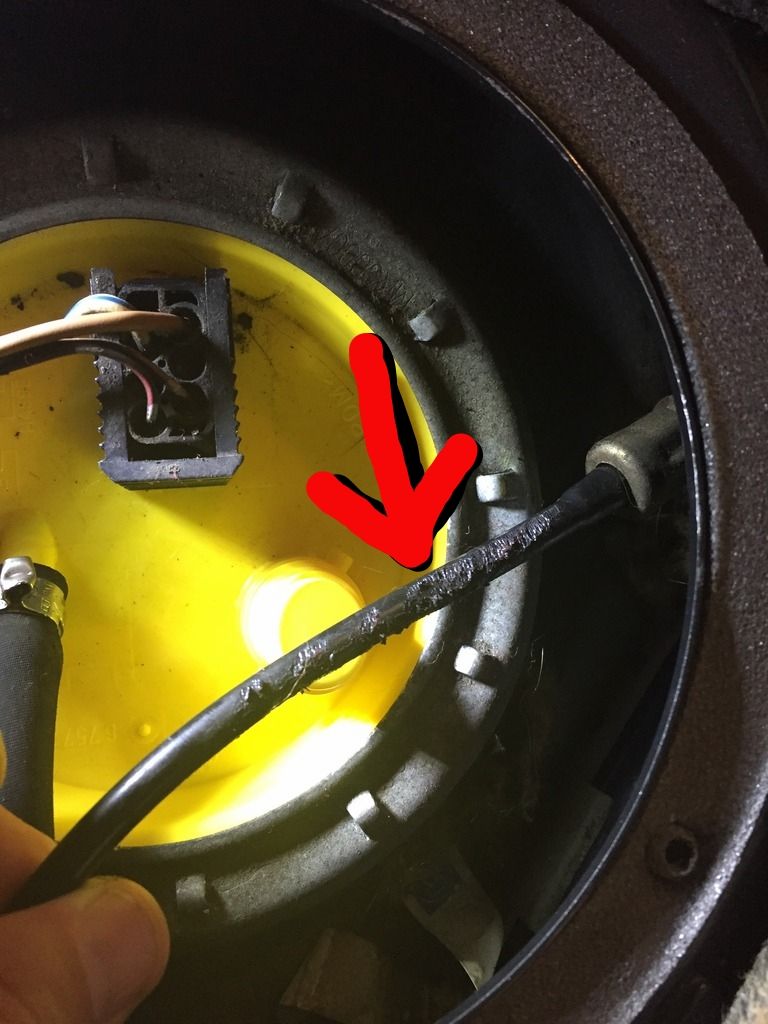
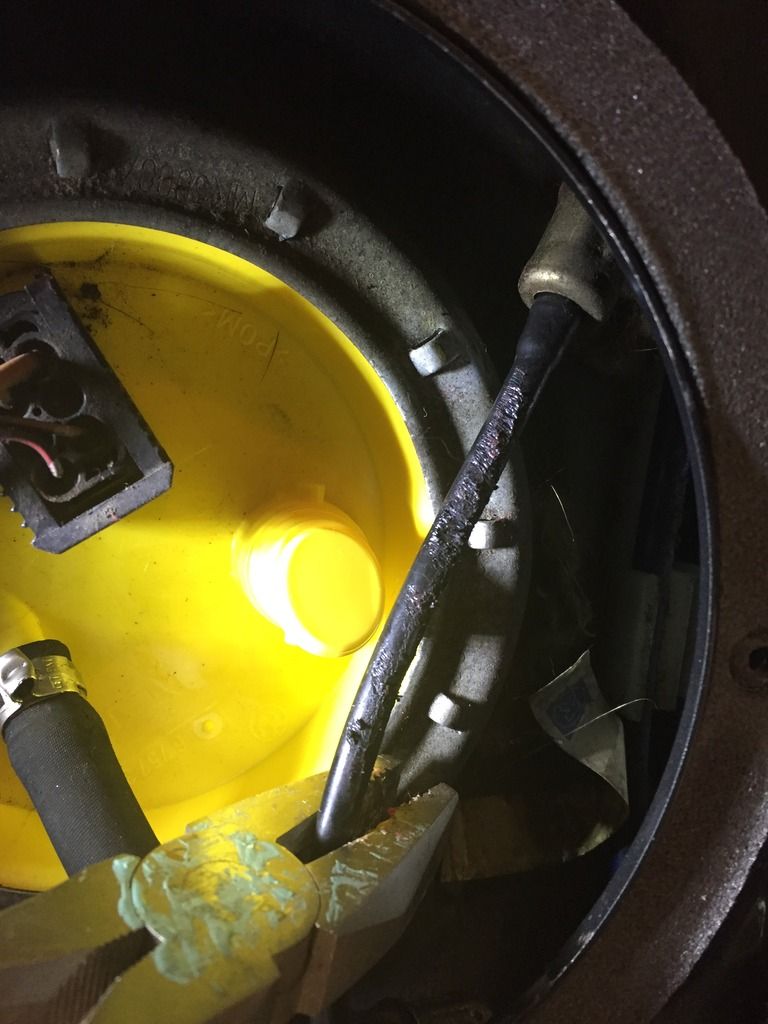
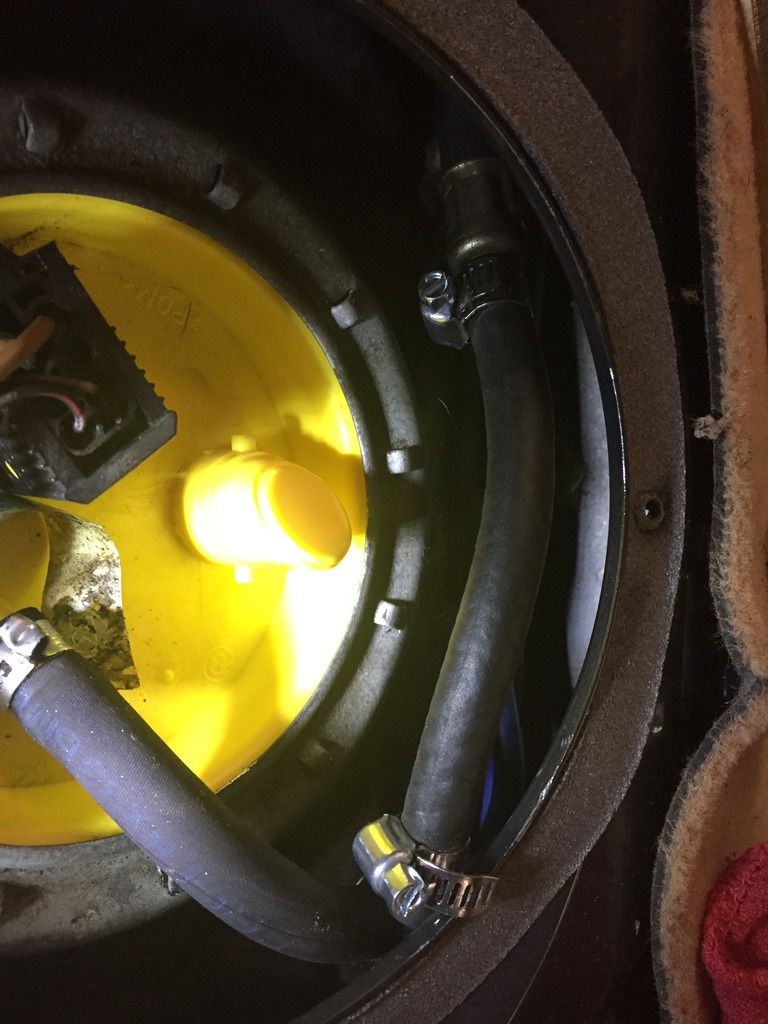
I uncovered the annoying leak in the hard-to-reach fuel vent line from the fuel tank to the filler neck last night. I was originally thinking it was the seal on the fuel level sending unit so I replaced that and took it to the gas station to fill it up and check that everything was ship-shape. Just as the tank was about full, I see this tiny stream of gas shooting out of the general area of the sending unit. Upon further inspection, the fuel vent line (aka the "pressure test instructions" line per the BMW part number label, item number 16131183375) was "corroded" and the source of the leak. Sounds like other people have attributed this to a mouse chewing at the line rather than actual corrosion, which seems likely in my case (prev owner let it sit for extended periods).
Did some investigating on the forum and noticed that there wasn't a dedicated thread to this item (at least that I could find, and I did try), so figured I would establish one for future reference.
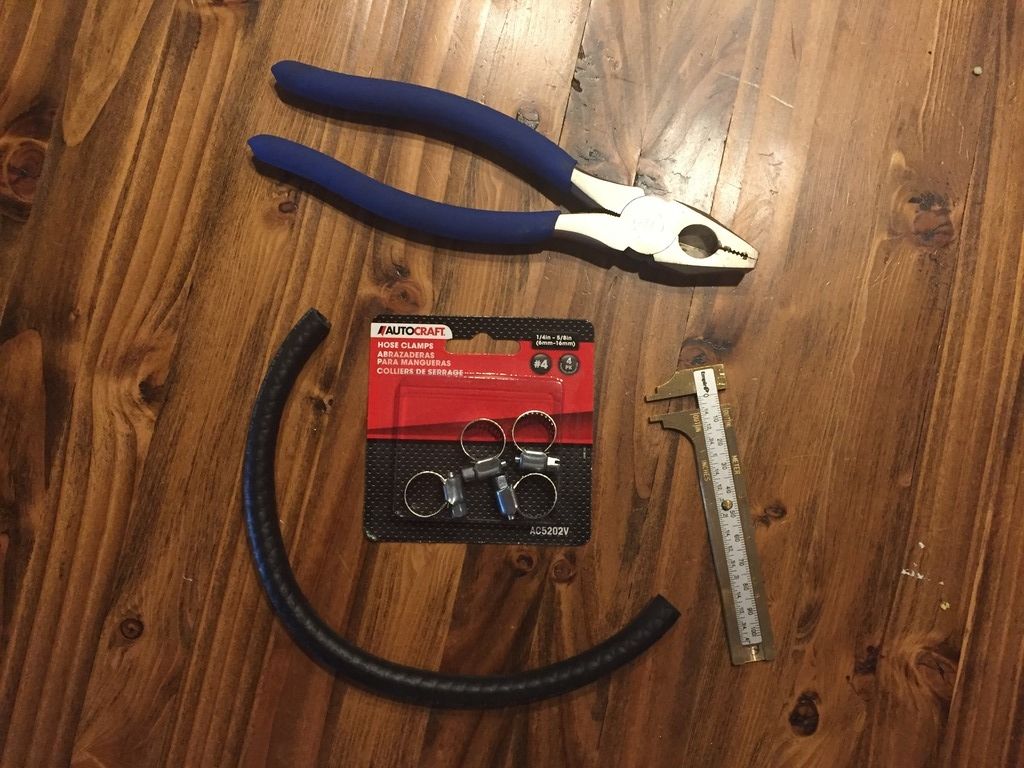
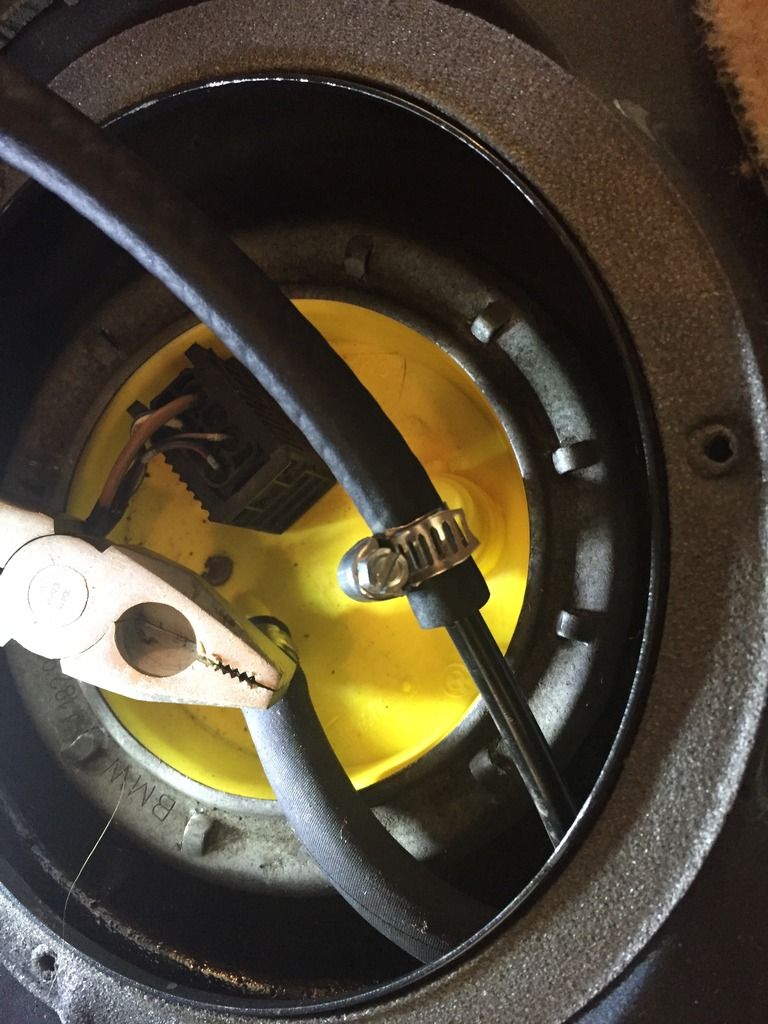
Obviously the "proper" solution is to replace the line, which is a $25 part. However, I don't think a $25 part is worth dropping the exhaust system, driveshaft, and fuel tank just to replace. Therefore, I'm going to get creative. Two solutions I've thought of so far are to cut the corroded part of the line out and hose clamp a new portion of hose in place of it. It is on the small OD portion of the line, so this shouldn't be too tricky.
Other option would be to disconnect the hose at the fuel tank connection point, cut it all the back to the clean part of the small OD line, and then either hose clamp or crimp a ferrule and run the larger OD hose all the way back to the fuel tank connection point. This has the added of complexity of needing to futz with that fuel tank connection which is just far enough under the sheet metal that it's hard to reach (especially with having to undo the band clamp around it).
I'll let you all know what I figure out and try to provide pictures as I go.
If anybody else has any creative ideas for an in-situ replacement (besides JB Weld, or putting electrical tape around it), let me know. Thanks!


