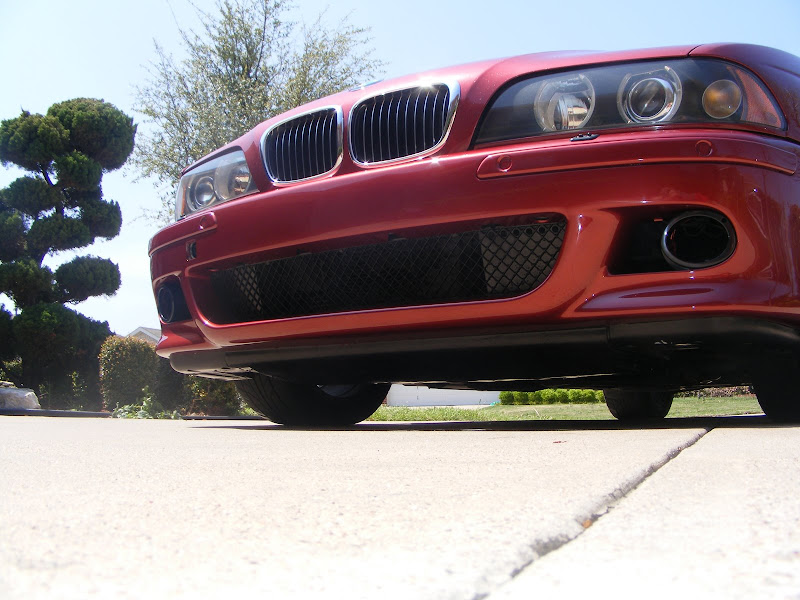
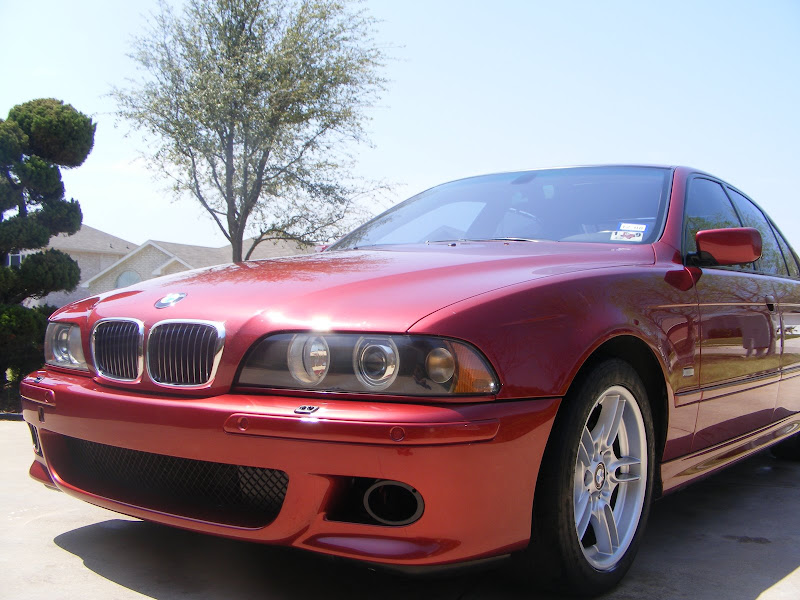
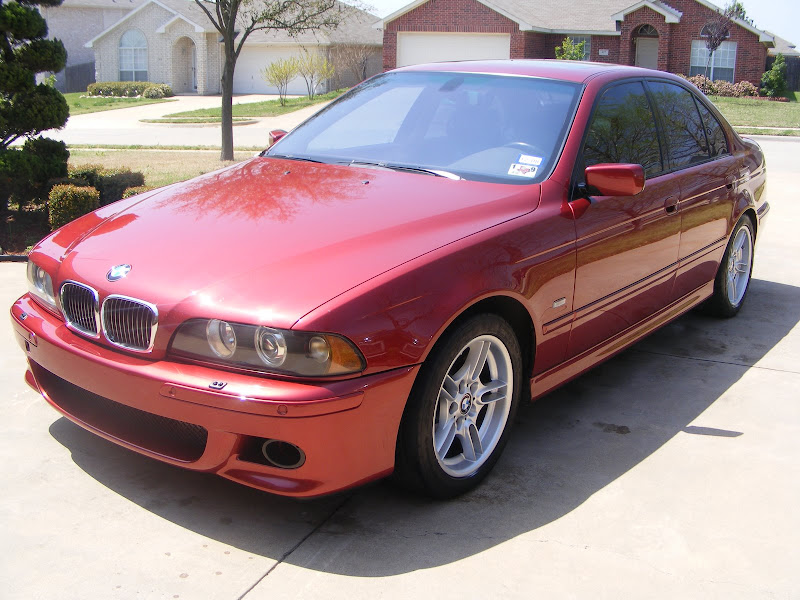
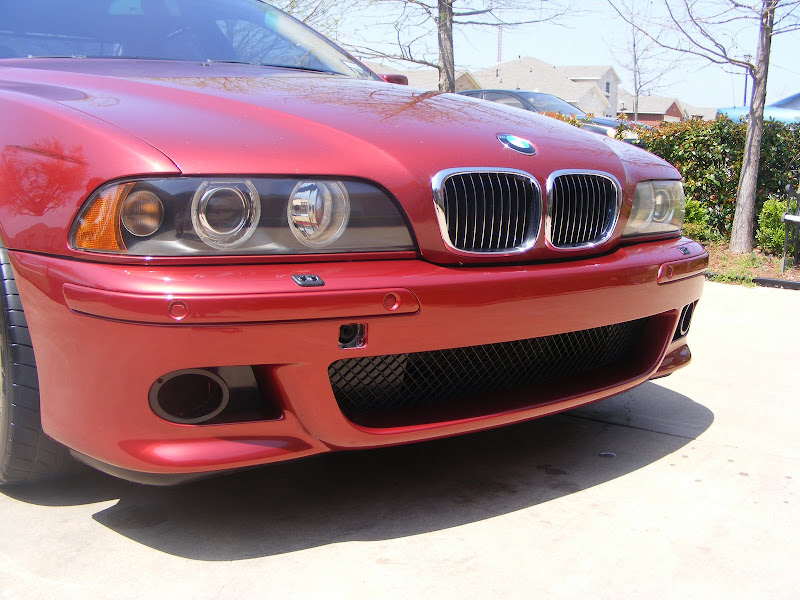
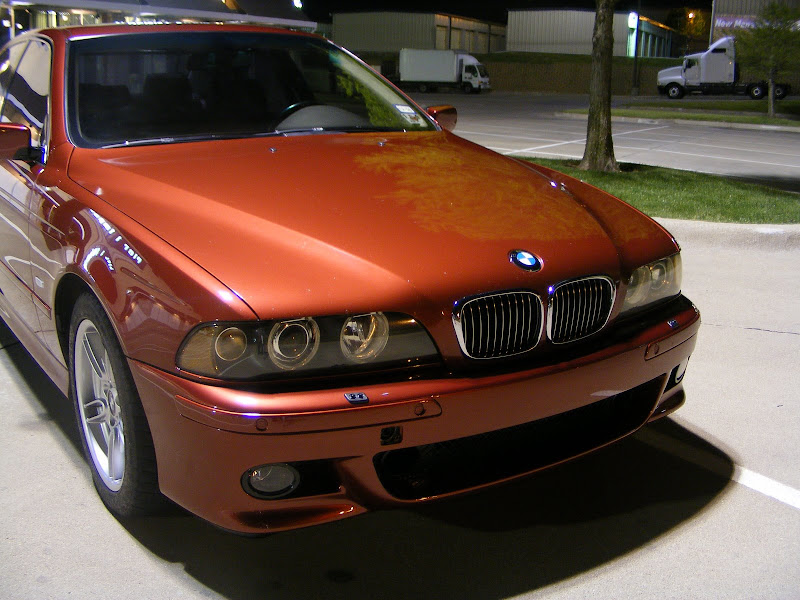
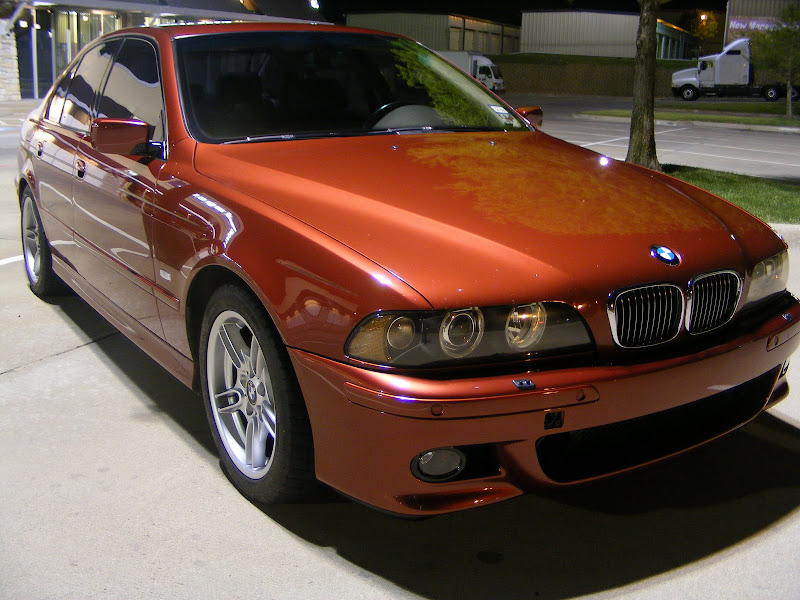
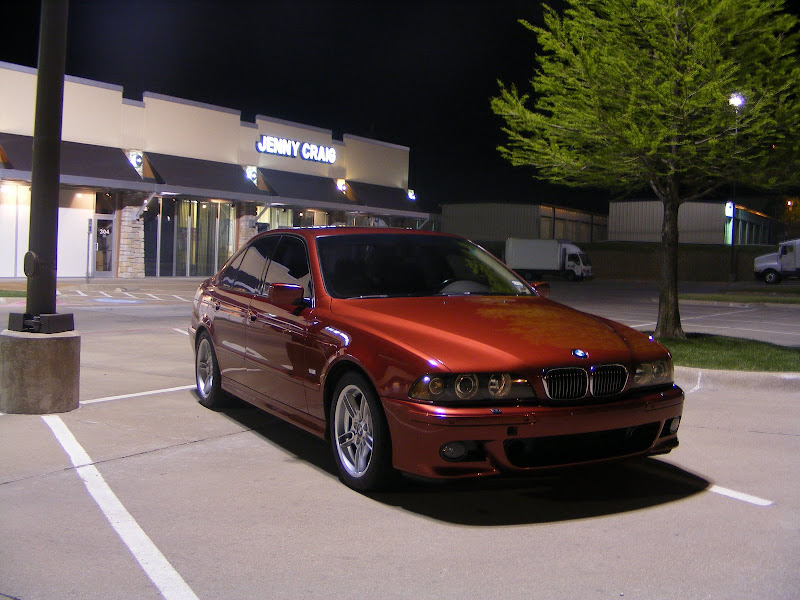
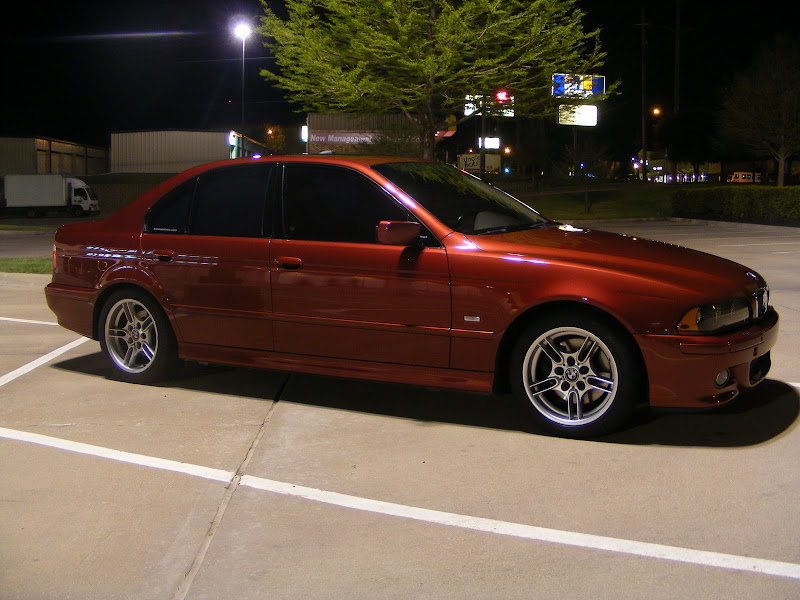
Well I have started to collect everything I need for the front bumper conversion.
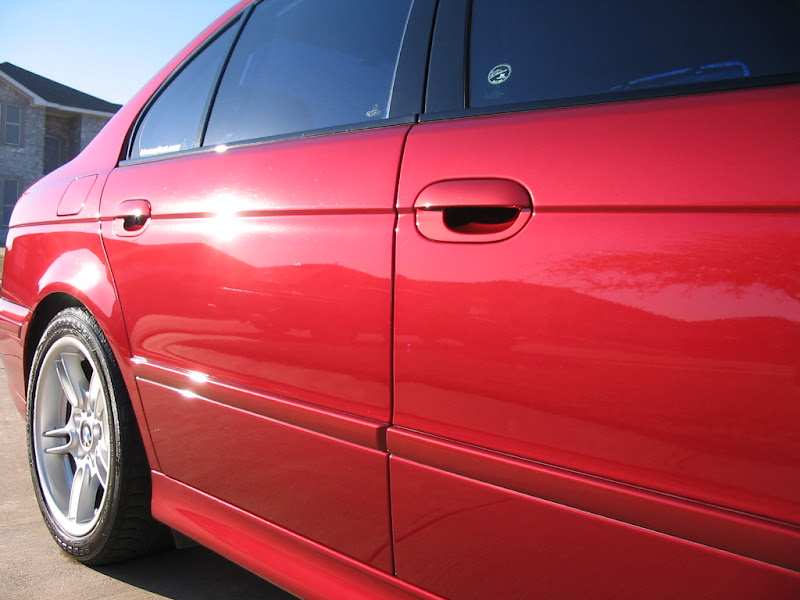
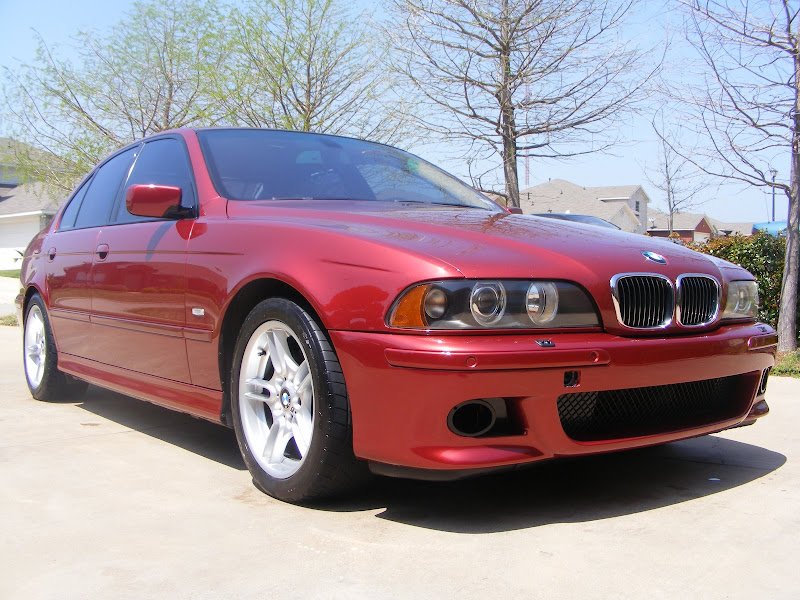
I was lucky enought to get an OE M5 Bumper that just needed to be repainted. I just have a few questions (reguards to parts) for anyone that has done this conversion on their 540i. I have done an extensive search and I only seem to find a few posts with a full conversion but they have been on 530's.
Can I use my existing Air Duct, Oil Cooler (540) and duct supports (540) for the belly pan to work or do I need to buy all new parts? I know you have to buy all new parts for the 530 but what about the 540?
M-TECH FRONT BUMPER PARTS LIST
51-11-2-695-762 Air Duct, Oil Cooler (Will my current 540 one work?) Tyrone: don't have one currently and don't need this
51-71-7-892-297 bracket/support duct (Will my current 540 one work?) Tyrone: Need this
51-71-7-892-298 bracket/support duct (Will my current 540 one work?) Tyrone: Need this
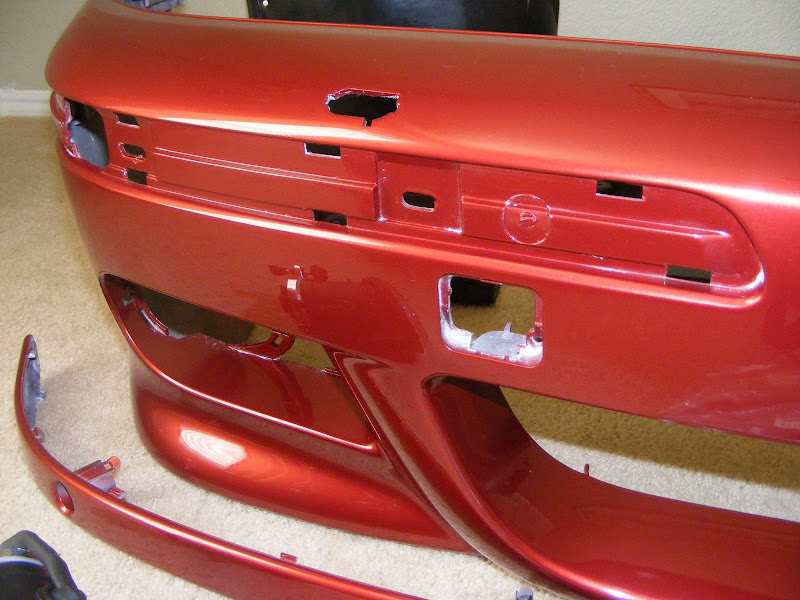
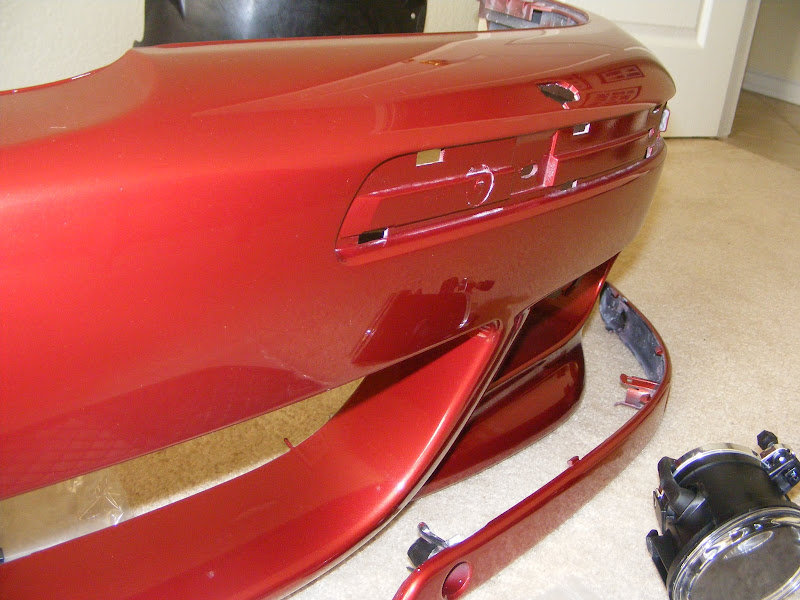
51-11-2-498-507 Front Bumper (GOT IT, needs additional hole made for PDC)
51-71-2-498-939 Front Air Duct (Plan on modifing existing one)
51-11-7-890-013 Air Duct Left (Not sure if I need this yet)
51-11-7-890-014 Air Duct Right (Not sure if I need this yet)
51-11-2-693-539 Front Tow Flap (Will my current 540 one work?) Tyrone: Need this
51-11-2-494-193 Front Buffer Strip Left (GOT IT, painted)
51-11-2-494-194 Front Buffer Strip Right (GOT IT, painted)
51-11-8-159-361 Support Left (Old one can be reused)
51-11-8-159-362 Support Right (Old one can be reused)
51-11-8-191-149 Gasket (GOT IT)
51-11-2-496-285 M5 mesh Grille (GOT IT)
51-11-2-694-214 License plate frame (required by state, but I am not doing it)
61-13-0-007-272 Contact To Fog Lamp x4 (Not sure if I need this yet) Tyrone: Don't need these on 01+
61-13-8-364-498 Plug For Fog Lamp x2 (Not sure if I need this yet) Tyrone: Need this
63-17-7-894-017 Fog Lamp Left CLEAR LENS (GOT IT, ebay replica)
63-17-7-894-018 Fog Lamp Right CLEAR LENS (GOT IT, ebay replica)
51-11-2-496-283 Fog Light Frame left (GOT IT)
51-11-2-496-284 Fog Light Frame right (GOT IT)
51-71-2-694-899 Wheel liner/support Right (GOT IT)
51-71-2-694-832 Wheel liner/support Left (GOT IT)
51-71-2-498-988 Screening (540/M5) (GOT IT)
Tyrone also added:
You'll also need the following
10 axial clips to secure the grid to the bumper
4 additional screw plugs for the belly pan
2 fog light bolts and body nuts
8 bolts and body nuts for the fender liners
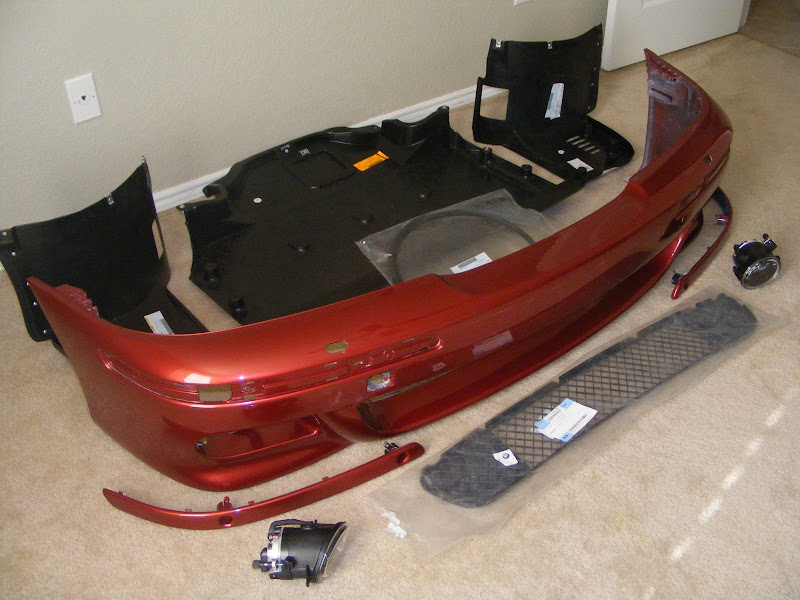
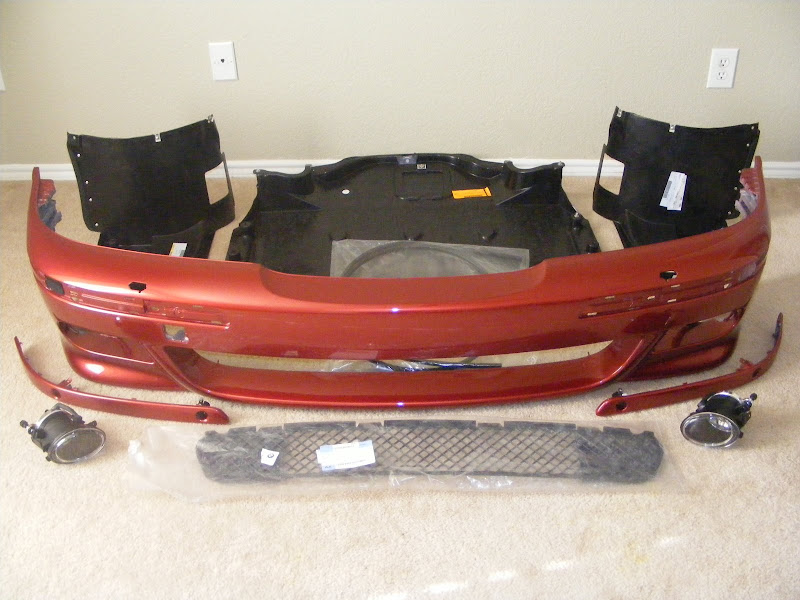
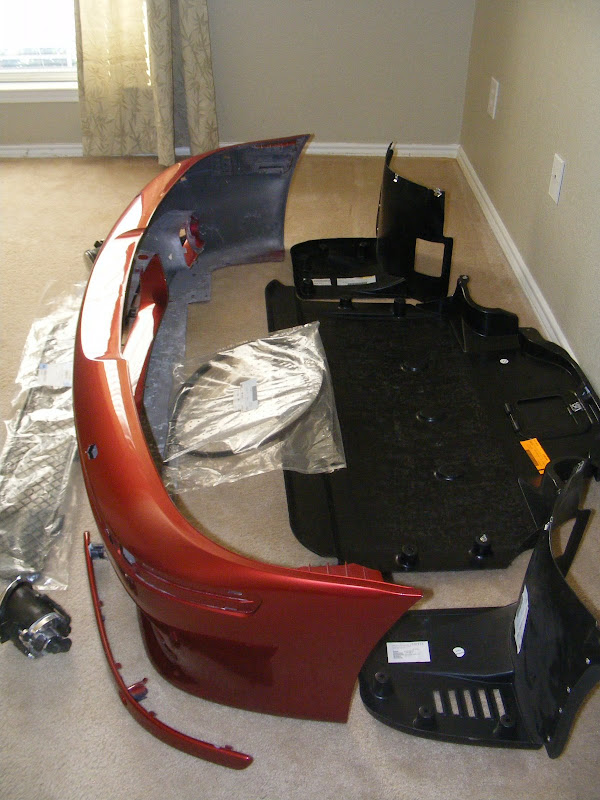
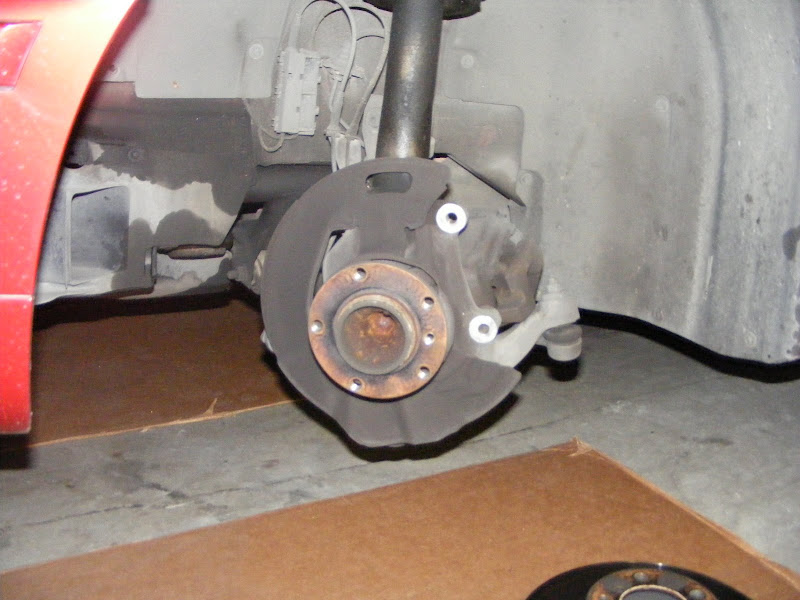
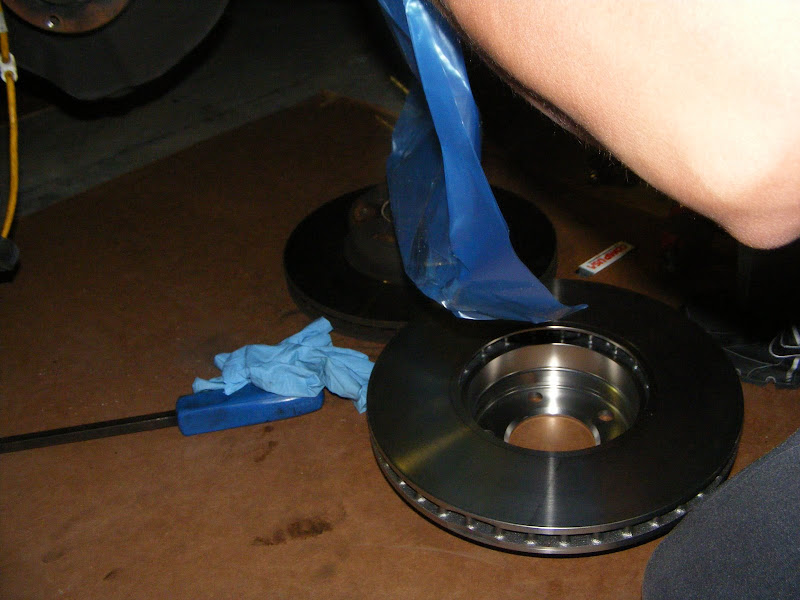
Here are some pics of the parts I have collected in last 3 weeks.
As always any help with my question is greatly appreciated. I will keep posting on the progress with some more pics.
I was lucky enought to get an OE M5 Bumper that just needed to be repainted. I just have a few questions (reguards to parts) for anyone that has done this conversion on their 540i. I have done an extensive search and I only seem to find a few posts with a full conversion but they have been on 530's.
Can I use my existing Air Duct, Oil Cooler (540) and duct supports (540) for the belly pan to work or do I need to buy all new parts? I know you have to buy all new parts for the 530 but what about the 540?
M-TECH FRONT BUMPER PARTS LIST
51-11-2-695-762 Air Duct, Oil Cooler (Will my current 540 one work?) Tyrone: don't have one currently and don't need this
51-71-7-892-297 bracket/support duct (Will my current 540 one work?) Tyrone: Need this
51-71-7-892-298 bracket/support duct (Will my current 540 one work?) Tyrone: Need this
51-11-2-498-507 Front Bumper (GOT IT, needs additional hole made for PDC)
51-71-2-498-939 Front Air Duct (Plan on modifing existing one)
51-11-7-890-013 Air Duct Left (Not sure if I need this yet)
51-11-7-890-014 Air Duct Right (Not sure if I need this yet)
51-11-2-693-539 Front Tow Flap (Will my current 540 one work?) Tyrone: Need this
51-11-2-494-193 Front Buffer Strip Left (GOT IT, painted)
51-11-2-494-194 Front Buffer Strip Right (GOT IT, painted)
51-11-8-159-361 Support Left (Old one can be reused)
51-11-8-159-362 Support Right (Old one can be reused)
51-11-8-191-149 Gasket (GOT IT)
51-11-2-496-285 M5 mesh Grille (GOT IT)
51-11-2-694-214 License plate frame (required by state, but I am not doing it)
61-13-0-007-272 Contact To Fog Lamp x4 (Not sure if I need this yet) Tyrone: Don't need these on 01+
61-13-8-364-498 Plug For Fog Lamp x2 (Not sure if I need this yet) Tyrone: Need this
63-17-7-894-017 Fog Lamp Left CLEAR LENS (GOT IT, ebay replica)
63-17-7-894-018 Fog Lamp Right CLEAR LENS (GOT IT, ebay replica)
51-11-2-496-283 Fog Light Frame left (GOT IT)
51-11-2-496-284 Fog Light Frame right (GOT IT)
51-71-2-694-899 Wheel liner/support Right (GOT IT)
51-71-2-694-832 Wheel liner/support Left (GOT IT)
51-71-2-498-988 Screening (540/M5) (GOT IT)
Tyrone also added:
You'll also need the following
10 axial clips to secure the grid to the bumper
4 additional screw plugs for the belly pan
2 fog light bolts and body nuts
8 bolts and body nuts for the fender liners
Here are some pics of the parts I have collected in last 3 weeks.
As always any help with my question is greatly appreciated. I will keep posting on the progress with some more pics.

")